Perfect Vanilla Ninja Creami Base Recipe – Protein Ice Cream
This post may contain affiliate links.
Are you tired of boring, icy, lackluster Ninja Creamis with no flavor? Look no further than this delicious Vanilla Ninja Creami base recipe for a luscious, creamy classic vanilla ice cream that will satisfy your sweet tooth!
High in protein with less sugar than traditional ice cream recipes, this recipe is perfect for anyone who bought their Ninja Creami machine to make healthy options that taste like the real deal.

Everybody needs a good, solid ice cream base recipe for their Ninja Creami ice cream maker. Vanilla is so versatile!
Want to make a homemade healthy “blizzard?” Probably want vanilla. An ice cream sundae? What better flavor to make that with than vanilla!
Or maybe you’re tired of buying a bunch of different ingredients to make different flavors and just want to simplify your Ninja Creami supplies by simplifying your recipes. Hey, I get it. Food isn’t cheap!
Let me help you out with that. I’ve got the perfect vanilla bean Ninja Creami base recipe here that’s great for those who want to eat protein ice creams.
Why You’ll Love This Recipe
This low sugar vanilla bean ice cream is made with simple ingredients, has a creamy texture, and packs a good punch of protein to fill you up.

Want More Recipes Like This One?
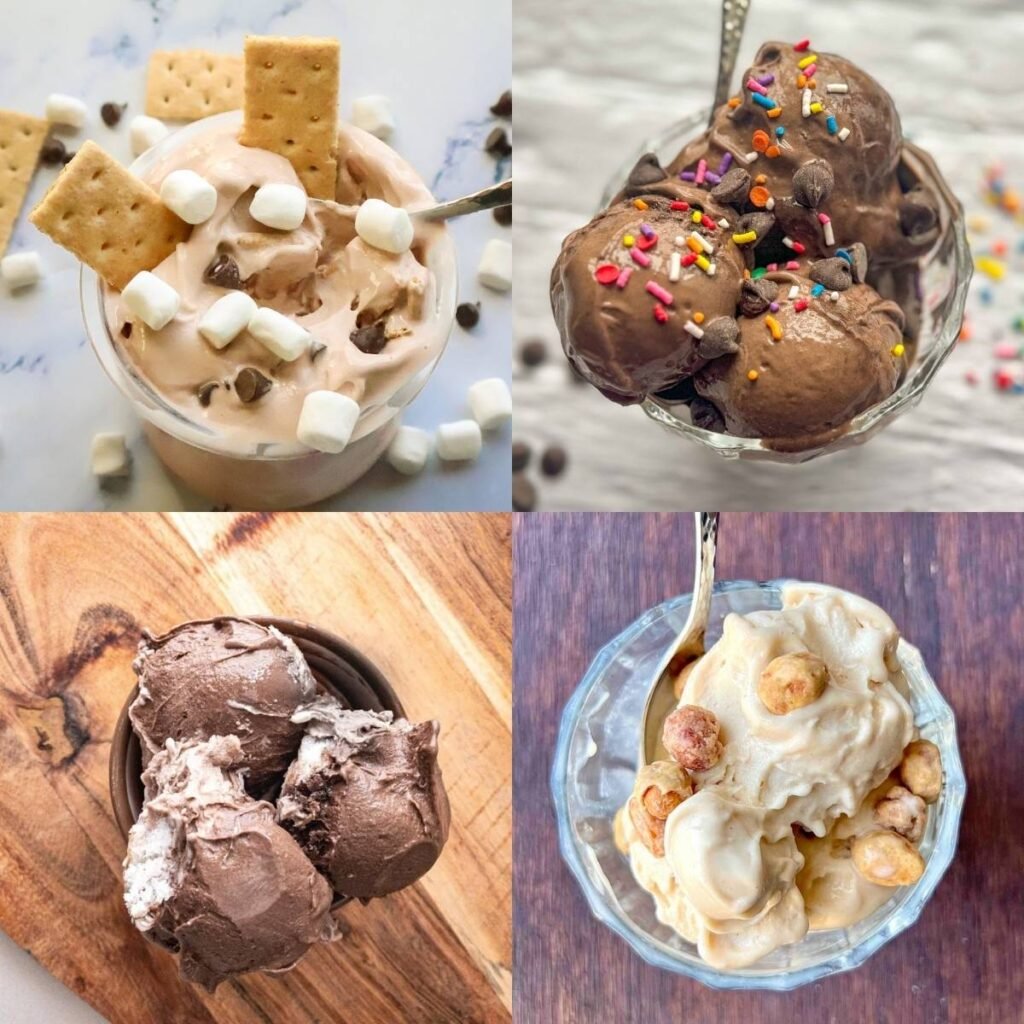
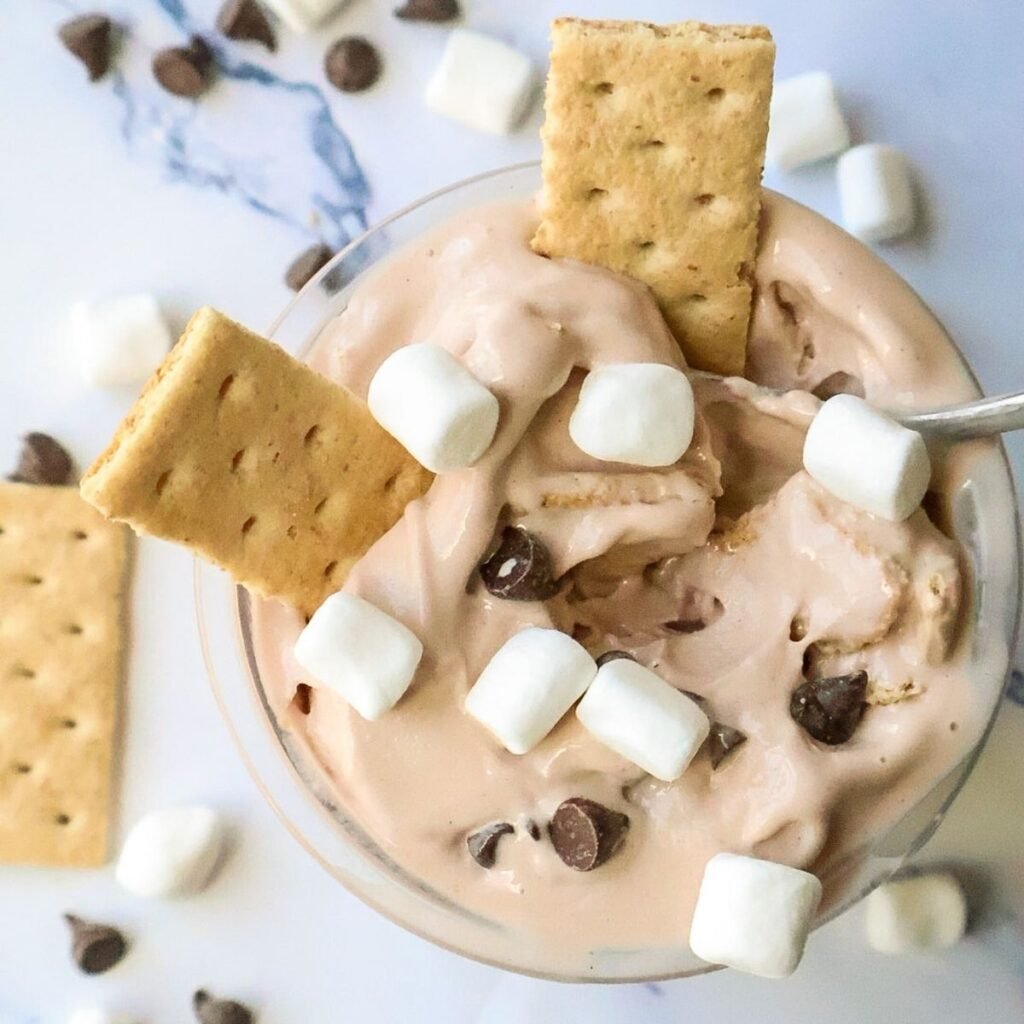
If you love my Ninja Creami recipes and want some more fun flavors like S’Mores, Pistachio, Monster Cookie, Black Forest Cake, or even Moose Tracks, check out my Ninja Creami Recipe eBook!
The recipe book is available for instant download and offers delicious recipes in an easy-to-access eBook without any ads.
Purchase my 20 High-Protein Ninja Creami Recipes eBook on Etsy. Feel free to reach out to me ([email protected]) with any questions!
The Essentials of Ninja Creami Protein Ice Cream
When it comes to a good quality Ninja Creami protein ice cream recipe, there are 5 crucial components you need for the best consistency. Those are:
- Protein – Makes sense that protein is the #1 component for a protein ice cream recipe, right? There are different types of protein you can buy, and they contribute to texture differences in your ice creams.
- Stabilizer – A stabilizer is what emulsifies your ice cream mixture and makes it creamy, reducing iciness. If your ice creams are icy, one possible reason is you aren’t using a strong enough stabilizer.
- Liquid – Your liquid matters, too! Different liquids process differently in the machine.
- Sweetener – Sweet flavors diminish in cool temperatures. Ice creams are no exception. You need more sweetener than you think to make a tasty ice cream.
- Flavorings – Flavors dull in the freezer along with the sweetness. For ice creams that rival traditional ice cream recipes, you will need some flavor enhancers.
I get into all of these components and more in my Guide to Creating Ninja Creami Protein Recipes eBook. This guide is completely free! If you’re interested in it, sign up for my weekly newsletter below, and my eBook will be automatically sent to your email.
Otherwise, read on to get this vanilla Ninja Creami base recipe!

Ingredients
To make this delicious vanilla bean Ninja Creami base recipe, you need a Ninja Creami ice cream machine and the following ingredients:
Vanilla Protein Powder – This recipe uses 50 grams of whey protein isolate because it is easily digested and readily available. Be sure to choose a brand you love the taste of. This may go without saying, but if you don’t enjoy the taste as a shake, it won’t taste any better as ice cream! I have been loving Legion these days, but there are other great brands out there, too.
Cottage Cheese – Or plain greek yogurt–either will work. This serves as the stabilizer for our ice cream making it creamy and reducing iciness.
Vanilla Bean Paste – I love vanilla bean paste for the rich vanilla flavor it imparts, but vanilla extract can also be used!
Low-Calorie Sweetener – My favorite is allulose, but there are many options for sugar substitutes and you can use what you like as long as it’s a 1 to 1 replacement for sugar (if it’s not, you’ll have to adjust the recipe). Monk fruit sweetener, stevia, erythritol, splenda, etc. It’s up to you and your dietary preferences.
Milk – You have a few options. My favorite is nonfat Fairlife skim milk for the added creaminess and extra protein with lower calories than regular skim milk. My close second is unsweetened coconut milk beverage also because of its thickness and creaminess. Almond milk (or other nut milks) are also fine, but I prefer the final textures of ice creams made with dairy or coconut milk.

That’s it! This vanilla bean homemade ice cream recipe is a delightful sweet treat. While it’s a simple flavor to make, don’t be fooled–this flavor is anything but boring! It’s sweet, pure-tasting, and classic. These Ninja Creami ice creams will put store-bought ice cream to shame!
Instructions
Making this vanilla Ninja Creami base recipe is super easy. Just follow the steps below:

1. Combine Ingredients
Add the cottage cheese (or Greek yogurt), protein powder, vanilla bean paste (or extract), and sweetener to the Ninja Creami pint container. Pour your milk of choice up to the max fill line. Use an immersion blender to blend right in the pint.

2. Freeze Pint for 24 Hours
Place a lid on the pint container and put in the freezer on a level spot for 24 hours (tip: some believe freezing without the lid helps keep the top of the ice cream mixture flat when freezing. Feel free to try it yourself and see if it helps!)
Would you like to save this?

3. Spin
Take the pint container out of the freezer and put it in the outer bowl. Place the lid assembly on the bowl and install it in the machine per the manufacturer’s instructions for your model. Press the button for the Lite Ice Cream function to process.

4. Re-Spin or Mix-In
When the first cycle finishes, check the texture of the ice cream. If it looks good to you, go ahead and eat it! If it looks like it could use some smoothing out, re-install it in the machine and press “Re-Spin.” If you would like to add mix-ins, create a well in the center of the ice cream that goes all the way to the bottom of the pint and add 1/4 cup of your desired mix-ins. Re-install the pint container in the machine and press Mix-In button.
That’s it! Your Ninja Creami vanilla ice cream recipe is ready to enjoy!
Quick Tips
For a tasty flavor twist in your vanilla ice cream, try adding 2 tbsp sugar-free flavor syrup–any flavor you want! Cookie dough is my personal favorite. Make sure you slightly reduce the amount of milk to accommodate the extra liquid.
Need help with you Ninja Creami machine? Check out my Ninja Creami Troubleshooting Guide.
Serving Suggestions
Top the vanilla bean creamy ice cream with your favorite toppings like sugar-free chocolate syrup or caramel, fresh fruit, chocolate chips, peanuts, or sprinkles. Whatever you’d like!
Other Ninja Creami Flavors
I have a ton of other flavors that are sure to become your favorite Ninja Creami recipes! Try my:
- Ninja Creami Chocolate Ice Cream Recipe
- Ninja Creami Peanut Butter Ice Cream
- Ninja Creami Sugar-Free Cookies & Cream Ice Cream
- Ninja Creami Coconut Ice Cream
- Ninja Creami Cinnamon Ice Cream
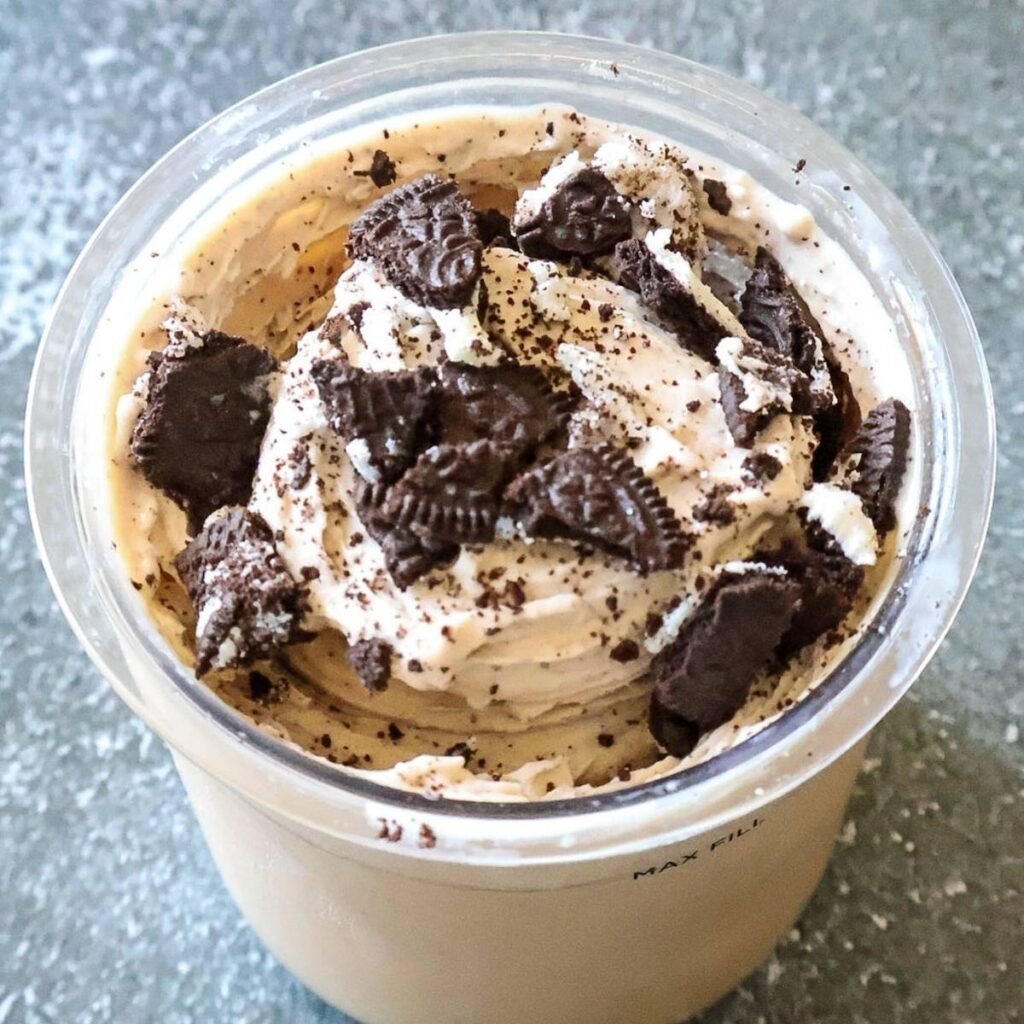
- Ninja Creami Coffee Protein Ice Cream
- High Protein Dole Whip
And more! Check out my whole Ninja Creami Recipes page for the best Ninja Creami recipes.
Nutritional Information
The stats here is estimated based on my chosen set of ingredients, including nonfat Fairlife milk, 2% cottage cheese, allulose, and whey isolate protein powder. Your Creami may vary–always do your own calculations to get the most accurate information possible.
- Calories: 347
- Protein: 60 grams
- Fat: 2 grams
- Carbs: 31 grams (this includes 12 grams of allulose, which could be subtracted for net carb calculations)
This homemade vanilla ice cream base has a TON of protein, making it thick and creamy, and also easy to share with others!
Recipe Notes
Flatten the top of the ice cream before putting back in the freezer so that you can safely re-spin it the next time you want to eat it!
Alternatively, you can microwave the leftovers in the pint container for 30 seconds. It won’t be as creamy, but you’ll be able to eat it with a spoon.

FAQ
The Ninja Creami doesn’t *need* pudding mix. Some people choose to use it as a stabilizer and to add flavor, but none of my recipes at the Sweet, Simple Things use pudding mix.
Usually, yes. But I’ve cut it a little short before and it’s been fine. Just know that improper freezing time could be hard on your machine and affect the final texture of your ice cream.
This is due to an imbalance of the ingredients. There are 5 essential components to a Ninja Creami protein ice cream, and not only do they all need to be included for great results, but they need to be included in the proper quantities. Check out my Essential Components section above for more information.
Vanilla Ice Cream is Underrated!
If you give my Ninja Creami vanilla bean ice cream a try, please let me know! Leave a comment and review below, I would love to hear from you!
Ninja Creami Vanilla Protein Ice Cream Base Recipe
Equipment
- Ninja Creami Ice Cream Maker
Ingredients
- 100 grams cottage cheese - about 1/2 cup ** see notes for substitution
- 50 grams vanilla whey protein isolate - about 1 1/2 scoops
- 2 tablespoon allulose - or other low-calorie sweetener
- 1 teaspoon vanilla bean paste
- 1 cup skim milk - see notes
Instructions
- Add all ingredients to the Ninja Creami pint container. Blend with an immersion blender to combine until smooth.
- Place the lid on the pint container. Put on a level surface in the freezer for 24 hours.
- When properly frozen, you can spin your ice cream. Install the pint into your machine per the manufacturer's instructions for your model. Do the first spin on "Lite Ice Cream."
- When the first cycle finishes, check the texture of the ice cream. If it looks like it could use some smoothing out, re-install it in the machine and press "Re-Spin." If you would like to add mix-ins, create a well in the center of the ice cream that goes all the way to the bottom of the pint and add 1/4 cup of your desired mix-ins. Re-install the pint container in the machine and press Mix-In button.
- Enjoy!
Video


Delicious basic vanilla. Perfect flavor and texture.