Protein Ninja Creami Peanut Butter Ice Cream Recipe
This post may contain affiliate links.

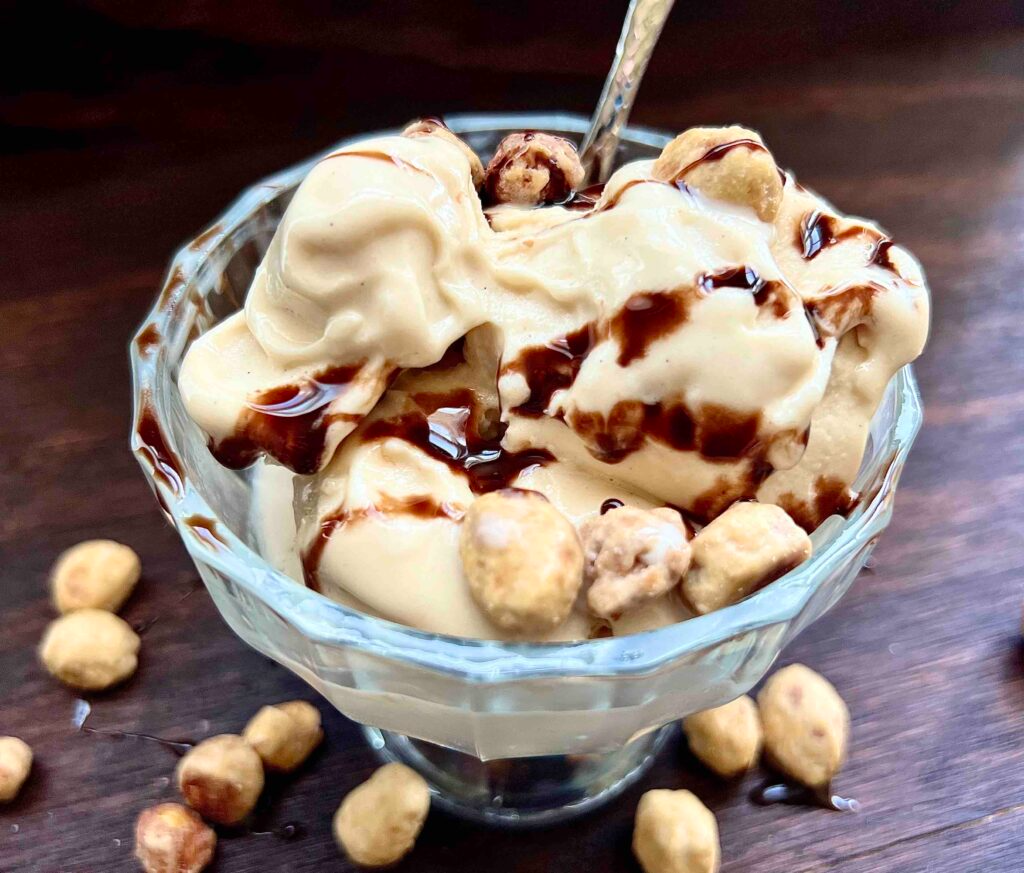
Rich, creamy, and irresistibly caramely - this Ninja Creami peanut butter protein ice cream packs nearly 58 grams of protein per serving with a fraction of the sugar and calories. Don't miss my Chocolate-Peanut Butter Swirl and Raspberry Protein Ice Cream for more high-protein favorites!
Recipe at a Glance:
Creamy, low-calorie ice cream that tastes like the real thing made with whey protein, cottage cheese, and powdered peanut butter that packs in nearly 58 grams of protein in under 350 calories per pint!
⏱️ Prep Time: 5 minutes
❄️ Freeze Time: 24 hours
🍽️ Servings: 1 pint
👍 Difficulty: Easy
💪 Macros: 350 calories, 58 grams protein, 32 grams carbs, 5 grams fat
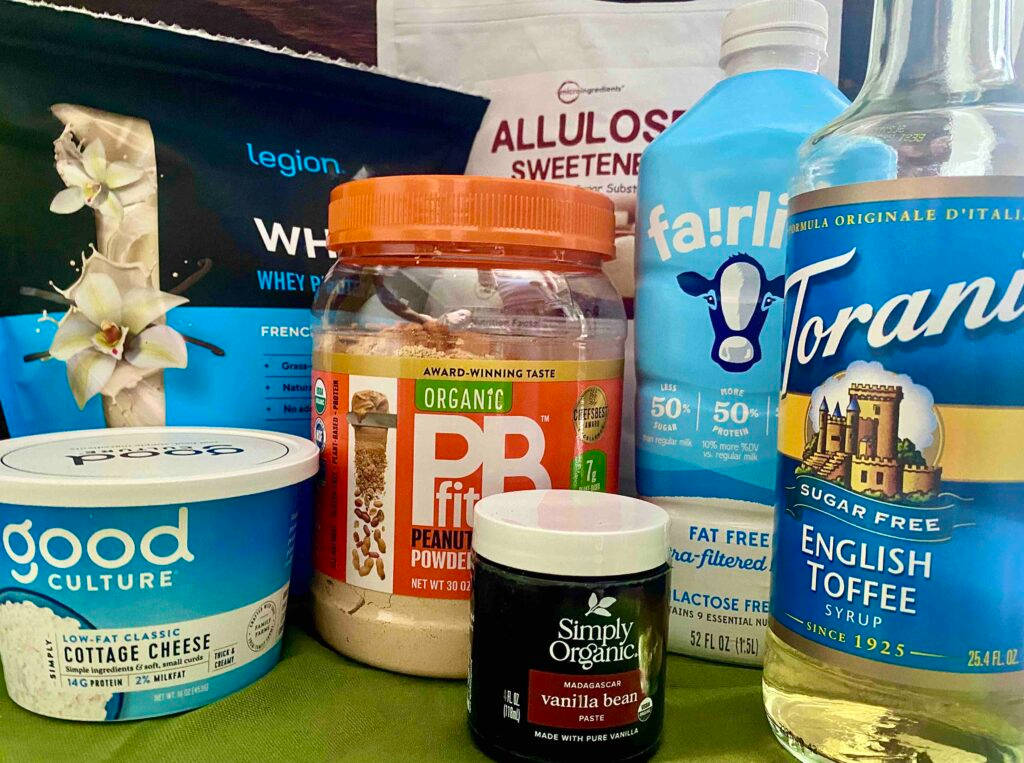
🛒 Featured Ingredients: Powdered Peanut Butter (like PbFit), whey protein, cottage cheese, nonfat milk or milk substitute
🍎 Dietary Swaps: See Ingredient substitutions to learn how to make this plant-based & dairy-free
SUMMARIZE & SAVE THIS CONTENT ON
It's no secret that I'm an ice cream girl through and through. Dairy Queen Blizzards easily rank at the top of my all-time favorite desserts (tied only with birthday cake, of course).
The only downside? Traditional ice cream doesn't leave much room for big scoops - most servings are just ½-⅔ cup - and the calories add up fast thanks to heavy cream. If you're trying to keep your macros balanced, that kind of treat doesn't fit into the plan as often as you’d like.
That's where my high-protein Ninja Creami ice creams come in. They're creamy, indulgent, and satisfying just like the real thing - but built with ingredients that work for your goals, not against them.
This peanut butter version is one of my favorites. It's rich, caramely, and easy to make with just a few simple ingredients.
Jump to:
Featured Comment: ⭐⭐⭐⭐⭐ This has been an almost daily staple for me. – Joe
Key Ingredients
Here are the main ingredients for this Ninja Creami peanut butter protein ice cream base. Be sure to check the recipe card for a full list of ingredients.
Cottage Cheese – Cottage cheese makes this recipe super creamy, and no–you can’t taste it! Cottage cheese is the stabilizer in this recipe, so do not skip it, even if you think it’s strange to put this in ice cream. Stabilizers are what make ice cream creamy and thick, not thin and icy.
You can also use Greek yogurt with similar results, though it will be a touch more tart.
Vanilla Flavored Whey Isolate Protein Powder – I have used many brands, and I enjoy the flavor of the Whey+ from Legion Athletics. You can use any whey isolate you like!
Whey is my protein of choice because it tastes good, is easily digestible, and gives predictable results every time. We can add higher amounts of whey protein to get a thick, scoopable texture, and it still tastes great.
Powdered Peanut Butter – This is what gives us our delicious peanut butter flavor without adding a ton of fat calories! Bonus points for the extra protein it provides, too. Common brands include PbFit and Pb2.
Sugar-Free English Toffee Flavor Syrup – Toffee’s flavor profile is bold & rich with hints of caramel, and it beautifully enhances the peanut butter flavor, brightening it rather than leaving it muted. While you can leave this ingredient out if you can’t find it, the flavor is better with it included.
Dairy-Free Substitutions
This recipe tastes best and gets the best texture as written. Know that if you substitute ingredients, it will impact taste and texture to some degree. That said, you can certainly make this recipe dairy-free.
- Use a dairy-free Greek yogurt substitute instead of cottage cheese.
- Use a plant-based protein powder instead of whey.
- Use coconut milk instead of nonfat dairy milk. Coconut milk (the drink–in a carton, not a can) is a bit thicker and creamier than nut milks, so it is my first choice for a sub, but nut milks can also be used.
How to Make Ninja Creami Peanut Butter Ice Cream
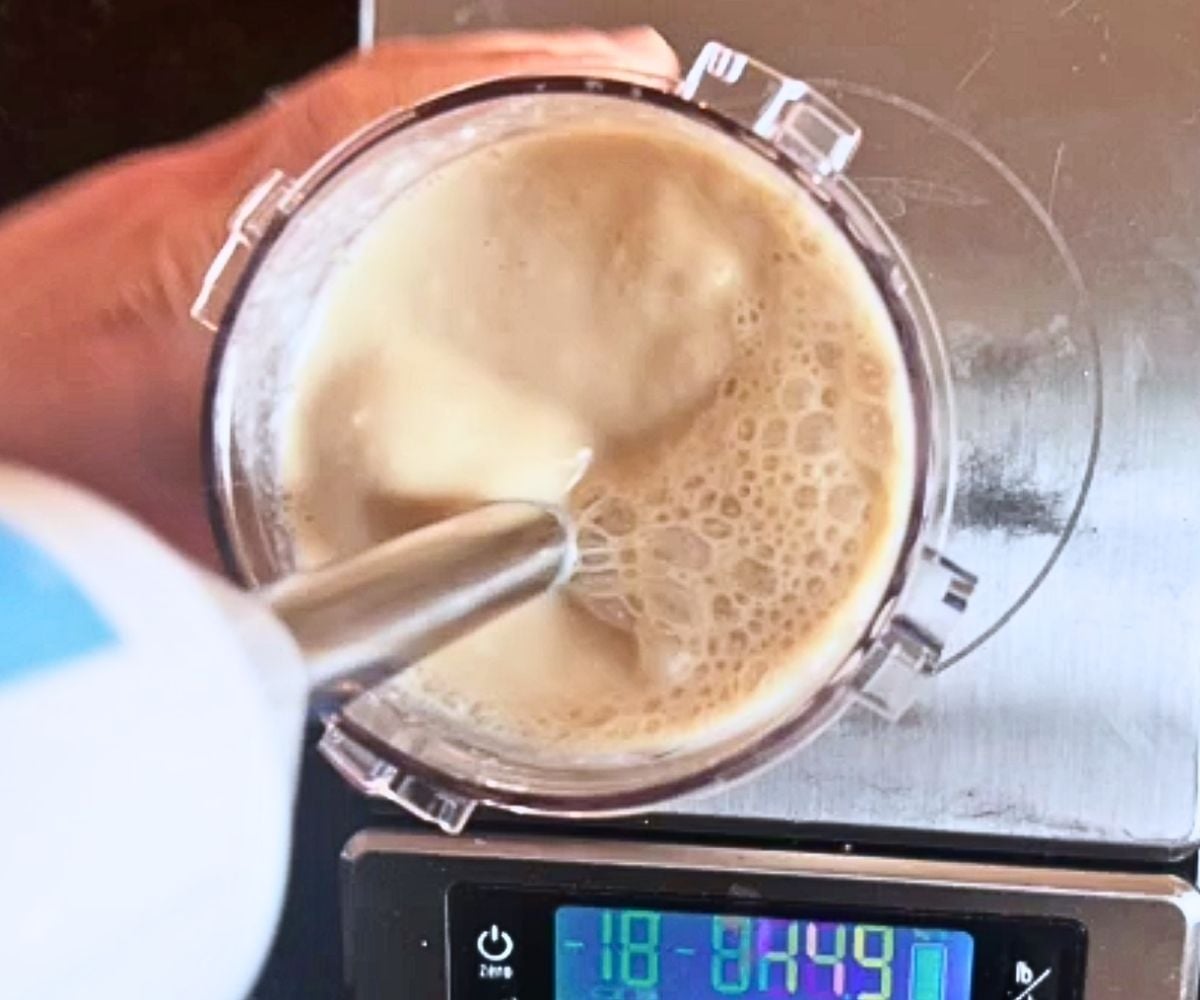
1. Combine & Blend Ingredients.
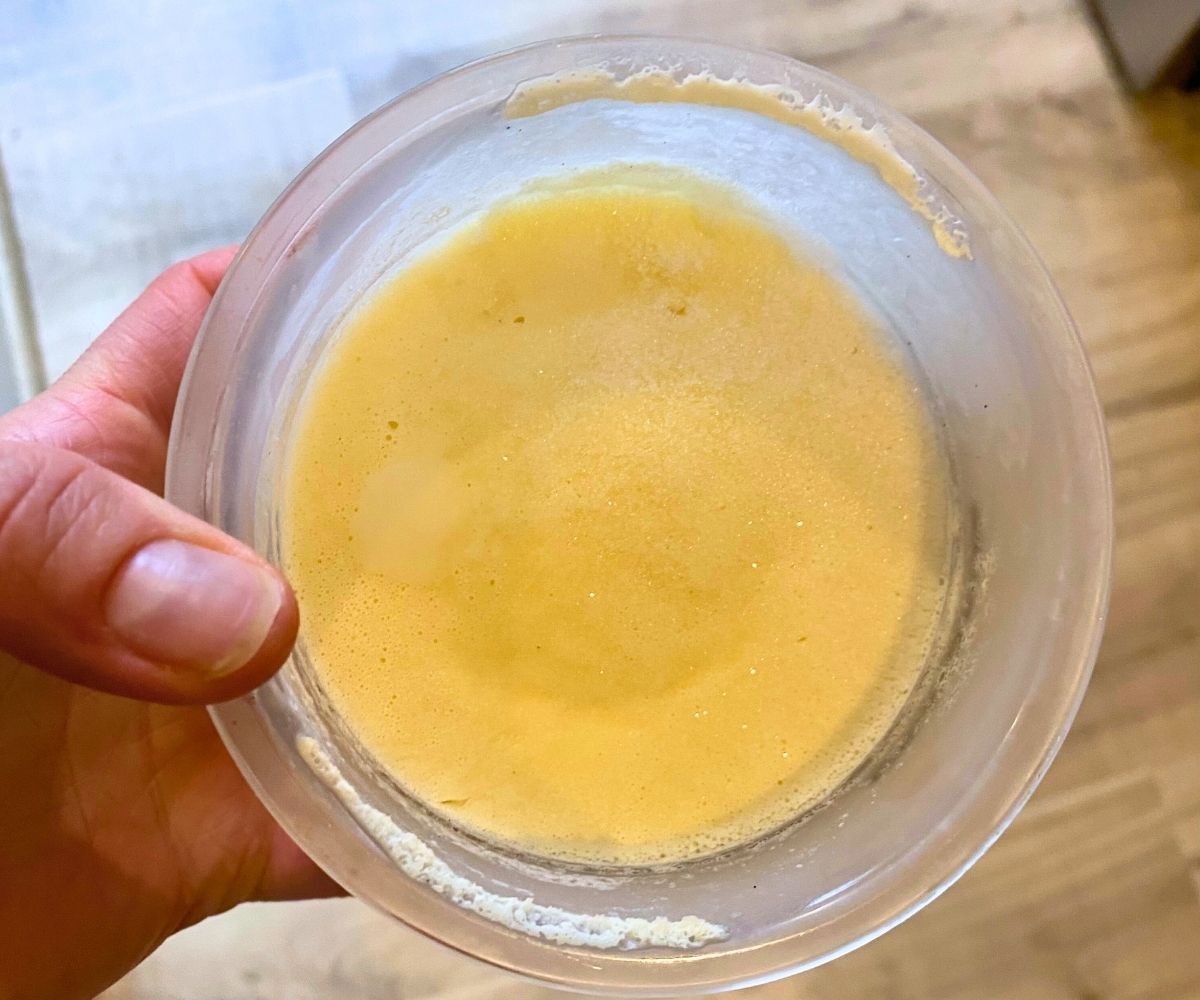
Add all ingredients to the Ninja Creami pint container. Using an immersion blender, blend everything in the cup until it is smooth.
If you don’t have an immersion blender, you can use the smoothie cup on your regular blender. Be careful not to blend too long to make it frothy.
2. Freeze.
Snap a lid on your pint container and place in the freezer on a level surface for at least 24 hours.
When you want to make your ice cream, remove your cup from the freezer and inspect the top to make sure it’s reasonably flat. If you have a large hump, you may need to use a spoon to try to scrape it down so the top is level.

3. Spin to Reach Perfect Consistency.
Install your ice cream pint into the Ninja Creami machine as directed by the instructions for your model. Press the “Lite Ice Cream” button.
When the ice cream is done spinning, remove the lid and check on the texture. If it looks good to you, it’s ready to eat!
If you want a smoother end result, reinstall the container into the machine and press the “Re-Spin” button.

4. Enjoy!
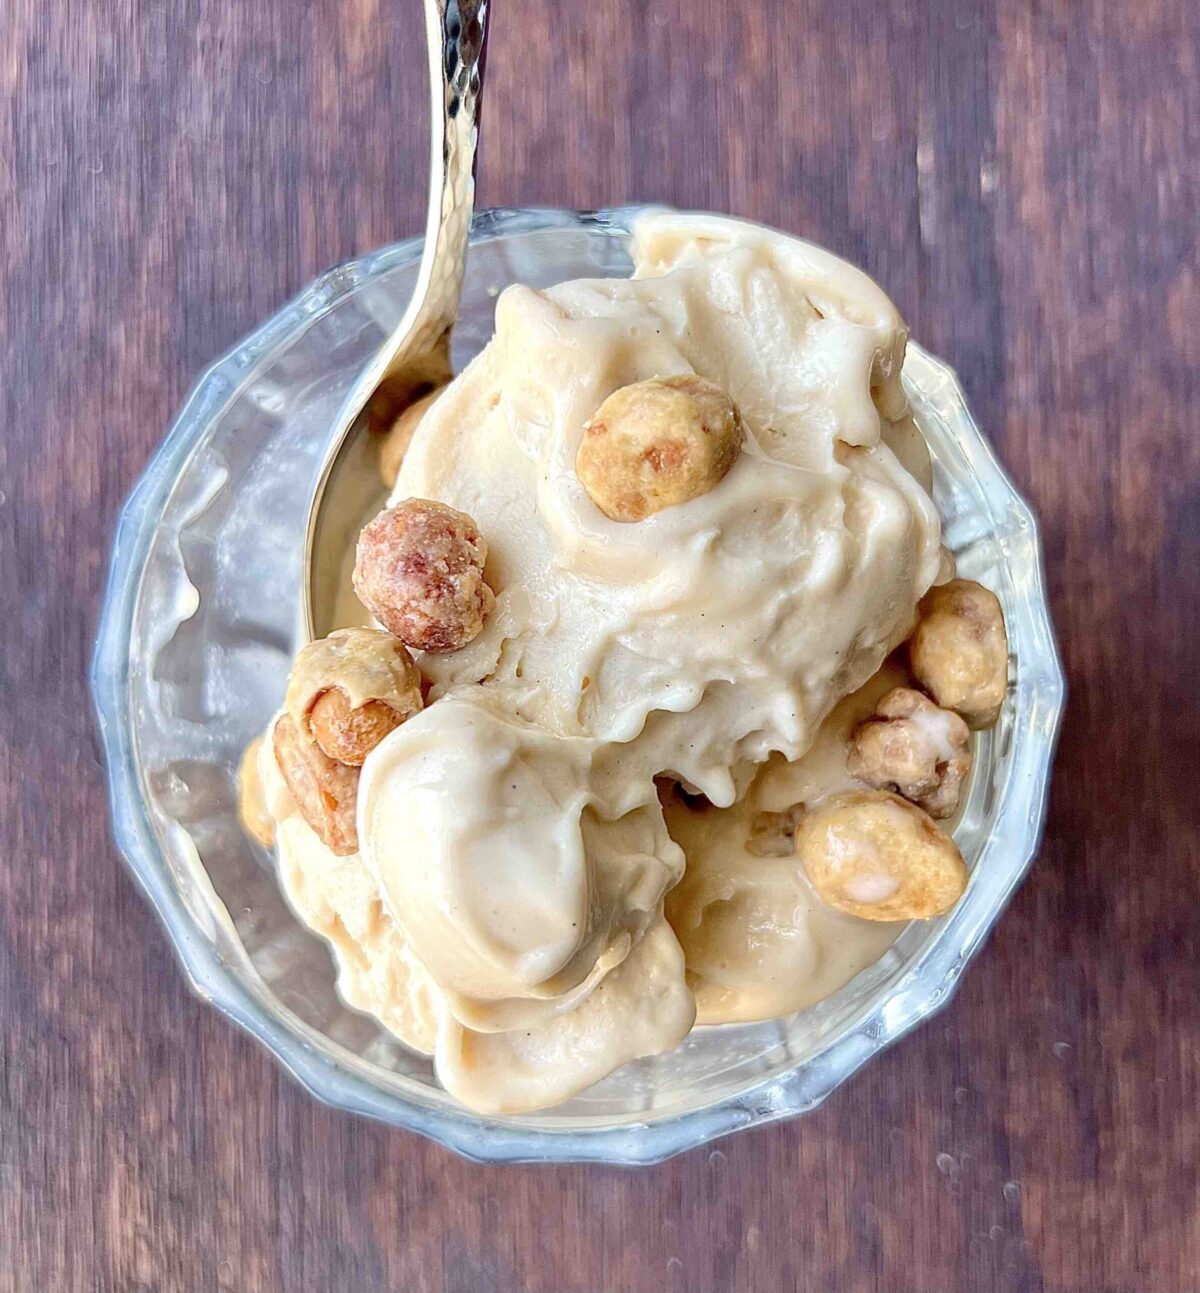
Your ice cream should be ready to enjoy! Top it with salted peanuts, chocolate chips, mini peanut butter cups, or just enjoy it plain. It’s certainly plenty good on its own!
Making Ninja Creami peanut butter ice cream is super easy!
Need to Troubleshoot?
If you’re having issues with your Ninja Creami machine, check out my Ninja Creami Troubleshooting Guide for your convenience.
Mix-In Ideas
Peanut butter ice cream makes a great base for so many delicious additions & mix-ins! Give some of these a try:

Ninja Creami Expert Tips
If you don’t finish the whole pint, you should use the back of a spoon to smooth the leftover ice cream flat, then stick it back in the freezer. When you want to finish it, re-spin it on the same settings.
If you forget to flatten the top, you can put the partially eaten frozen pint in the microwave for 30-60 seconds. This will make it soft enough to eat with a spoon.
Ninja Creami Peanut Butter Ice Cream FAQs
The first step to solving this is making sure you have spun it enough times. It is very normal to need to do a re-spin cycle on your Ninja Creamis. However, for the longevity of your machine, you want to avoid recipes that require several spins.
If you have done 2-3 spins and it still isn’t smooth, it has something to do with the ingredients. Make sure you follow tried and true recipes until you get the hang of it. Then you can start experimenting with your own combinations.
A 24-hour freeze is the general recommendation from Ninja to make sure your ice cream is frozen to a consistency that will produce the best results and not harm your machine.
It is fine to freeze longer than 24 hours, so that is why I batch prep many at a time. Freezing for less than 24 hours risks that your mixture won’t be as hard as the ice cream settings are designed to handle, meaning it could cause a mechanical issue.
That said, many people get by with freezing for less than 24 hours. Just know the risks and use your best judgment.
Yes, you can use regular peanut butter. However, it will reduce protein a bit while adding more calories and fat.
With the particular combination of ingredients, you do not need either of those things! The high protein content of this Creami makes it incredibly smooth and velvety without more additives.
20 grams of powdered peanut butter (about 2 1/3 tablespoons) is a great amount. It offers the peanut butter flavor without making your ice cream overly chalky or under-sweetened. You can play around with adding more or less to suit your tastes
More Ninja Creami Protein Recipes
For all of my Creami recipes, visit my Ninja Creami Ice Cream Recipes page.


Want More Recipes Like This One?
If you love my Ninja Creami recipes and want some more fun flavors like S’Mores, Pistachio, Monster Cookie, Black Forest Cake, or even Moose Tracks, check out my Ninja Creami Recipe eBook!
The recipe book is available for instant download and offers delicious recipes in an easy-to-access eBook without any ads.
You’re going to LOVE this peanut butter protein ice cream for the Ninja Creami. If you make this recipe, please come back to leave a comment and review! It means the world!
📖 Recipe

Protein Ninja Creami Peanut Butter Ice Cream
Equipment
- 1 Ninja Creami Ice Cream Maker with accompanying pint cup
- 1 Immersion Blender (optional, but recommended)
Ingredients
- 100 grams 2% Cottage Cheese just under 1/2 cup
- 1 Scoop Vanilla flavored whey isolate protein powder about 30-35 grams depending on brand
- 20 grams Powdered Peanut Butter (like PbFit) 2 tbsp + 1 tsp
- 1-2 tablespoons Granulated Allulose adjust for preferred sweetness
- 2 tablespoon Sugar-Free Toffee flavor syrup (like Torani)
- 1 teaspoon Vanilla Bean Paste
- 1 cup Skim Milk see notes
Instructions
- Into a Ninja Creami Pint cup, add all of your ingredients and blend with an immersion blender until smooth.100 grams 2% Cottage Cheese, 1 Scoop Vanilla flavored whey isolate protein powder, 20 grams Powdered Peanut Butter (like PbFit), 1-2 tablespoons Granulated Allulose, 2 tablespoon Sugar-Free Toffee flavor syrup (like Torani), 1 teaspoon Vanilla Bean Paste, 1 cup Skim Milk
- Place the lid on your cup, and then set your pint cup in the freezer on a level surface. Let it freeze for at least 24 hours before spinning.
- When ready to eat, remove the pint from the freezer. Take off the lid and inspect the top to make sure it's mostly flat. If you have a large hump, especially if it is off-center, use a spoon or vegetable peeler to scrape down the hump to make the top as level as you can.
- Install your pint cup as directed by the model of your Ninja Creami. Press "Lite Ice Cream" for your first spin. Check on the texture of your ice cream after its spin. Spin again if necessary using the "Re-Spin" button.
- Your ice cream should now be ready to enjoy! Top with your favorite toppings, like salted peanuts, mini peanut butter cups, m&ms, chocolate syrup, graham crackers, or just enjoy it plain.
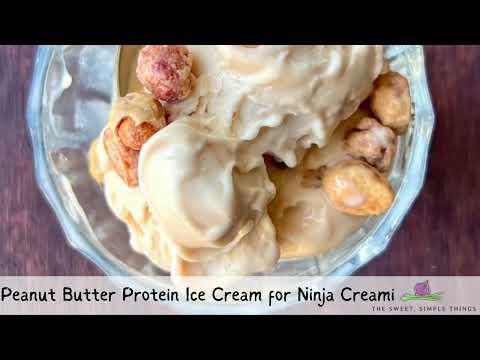
Video


This has be one an almost daily staple for me.
Love the pb flavor without adding tons of calories from regular pb. This is creamy, sweet, and delicious. Great base for your favorite mix-ins, too!