Ninja Creami Protein Swirl – Chocolate Coconut Flavors
This post may contain affiliate links.


Did you know you can swirl two flavors at once in your Ninja Creami machine?! Make your own flavor twist with this Ninja Creami protein ice cream swirl recipe! This post will teach you how to layer two flavors together for maximum enjoyment!
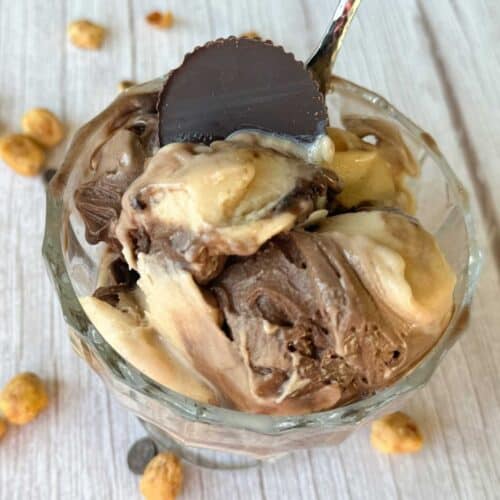
For another flavor swirl recipe, try my Ninja Creami Chocolate-Peanut Butter Ice Cream.

Recipe at a Glance
⏱️ Prep Time: 10 minutes
❄️ Freeze Time: 2 hours + 24 hours
🍽️ Servings: 2 pints
👍 Difficulty: Medium
😋 Recipe Highlights: Learn how to make your own twist ice cream! This recipe teaches you how to create a super fun flavor swirl at home - a simple but game-changing technique most recipes completely skip! Not to mention it is low-calorie and packed with protein!
| Nutrition Per Serving (1 pint) | Amount |
|---|---|
| Calories | 374 |
| Protein | 59 g |
| Fat | 7 g |
| Carbohydrates | 47 g total · ~20 g net |
SUMMARIZE & SAVE THIS CONTENT ON
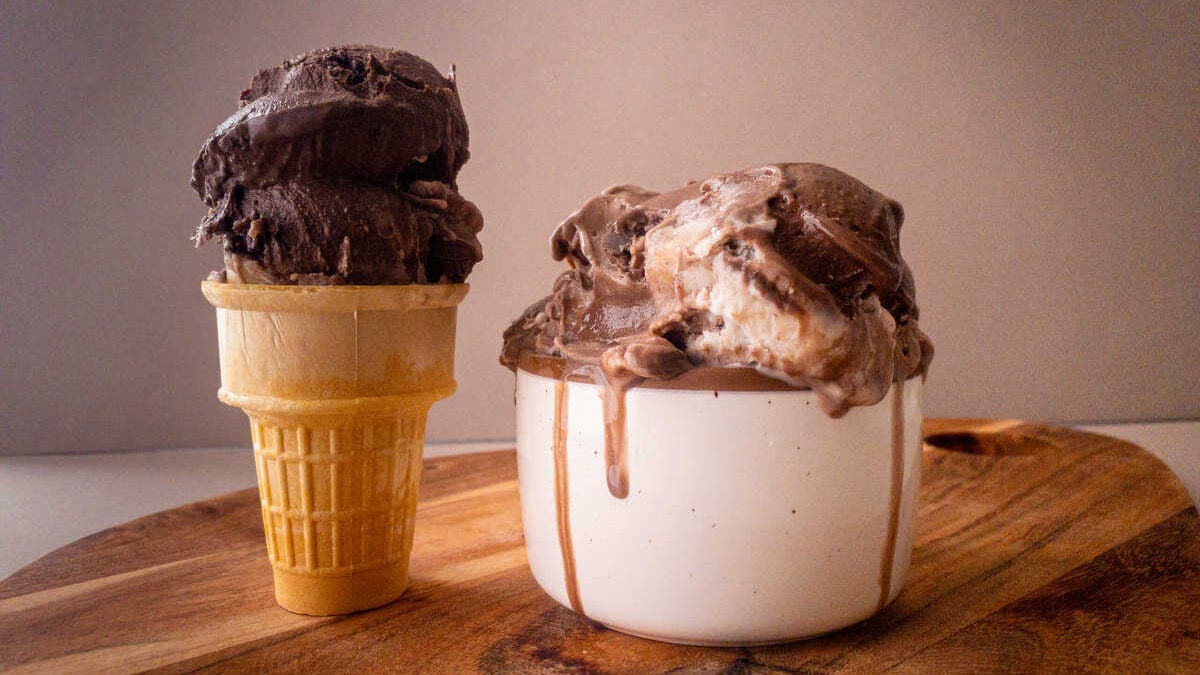
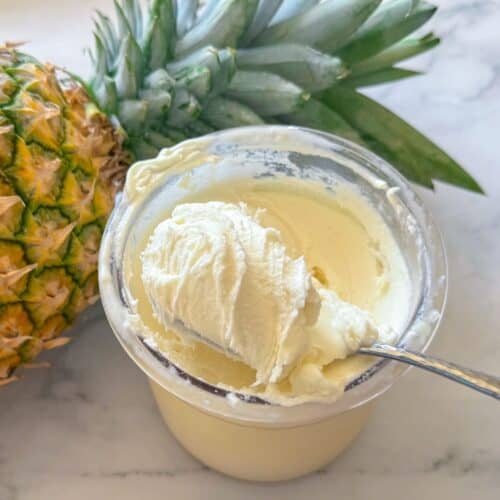
This chocolate-coconut Ninja Creami protein ice cream is all about the swirl!
This recipe makes two pints, giving you an extra for another time. Each pint has a whopping 59 grams of protein and only 374 calories!
These machines may be trendy right now, and perhaps you’re getting sick of hearing about them. However, they completely live up to the hype if you can find good recipes for it.
If you’d rather skip the chocolate, try out my high-protein Ninja Creami coconut ice cream recipe instead.
Jump to:
Why You’ll Love this Recipe
After doing tons of experiments with my Ninja Creami, I finally figured out how to swirl multiple flavors together the way they do for a twist ice cream cone.
What could be better than enjoying two flavors at once?
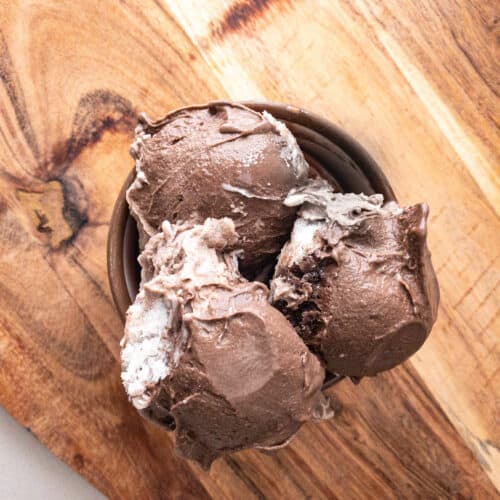
Rich chocolate ribbons twist through my tropical coconut base, giving every bite that perfect Mounds-bar-inspired flavor.
Ingredients for Ninja Creami Protein Ice Cream
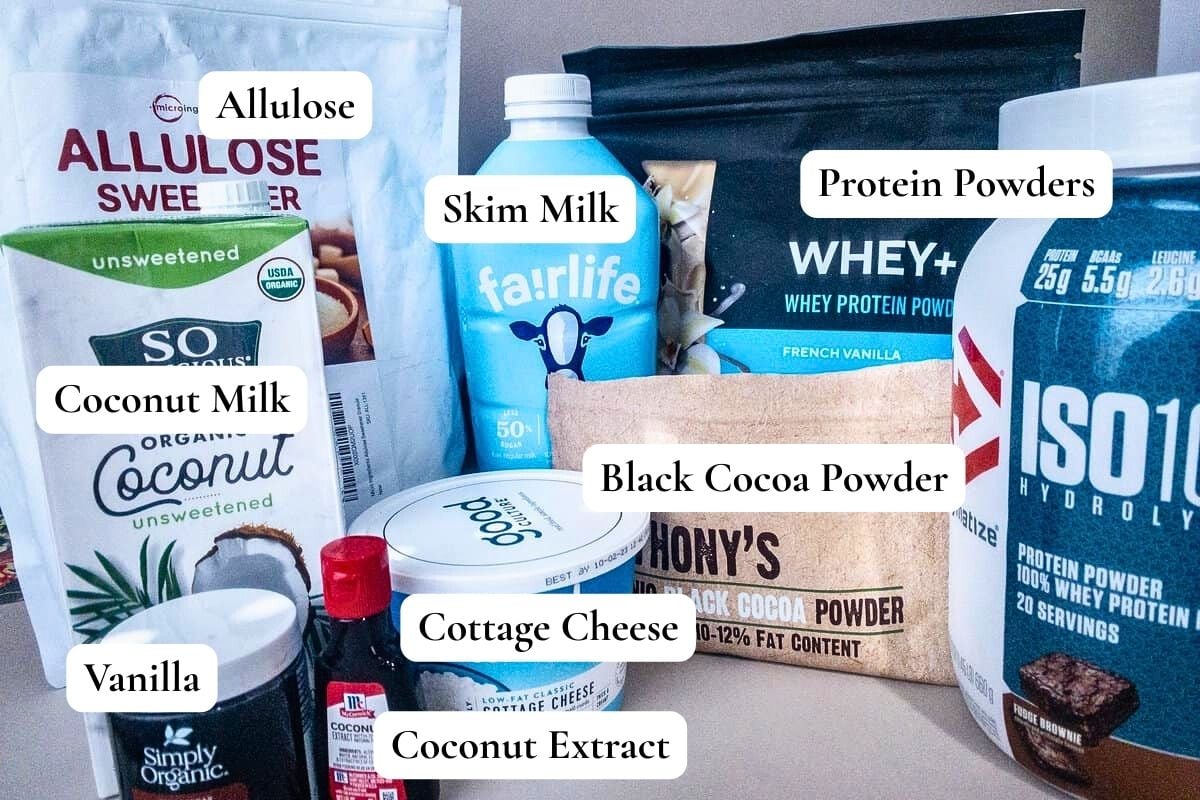
Here are the key ingredients to make this recipe. For a full list of ingredients, check the recipe card.
Cottage Cheese – Cottage cheese acts as an ice cream stabilizer–it makes creamier, reduces iciness, and thickens it. Another great perk is that it adds even more protein to the recipe! And no, you can’t taste it. 🙂
Allulose – Allulose is my preferred sugar substitute. It is great for ice cream because of how it lowers the freezing point of the mixture. It also has a neutral flavor and is linked to many health-promoting benefits.
If needed, you can use a different sugar substitute in its place. Choose one that is meant as a 1:1 substitute for best results.
Black Cocoa Powder – Black cocoa is my favorite type of cocoa for chocolate ice cream because it gives a deep, Oreo-style flavor with a rich, full-bodied chocolate taste. It also sneaks in beneficial flavonoids and minerals that can support heart health and mood.
Coconut Extract – This is what gives the ice cream a robust coconut flavor. Do not skip it! Coconut milk (the beverage version) does not have a strong enough flavor on its own to make it taste like coconut. I love the McCormick coconut extract.
Chocolate & vanilla whey protein – Use what you have on hand, but my favorite is Legion, which has a great ingredient profile and nice flavor.
If you want to give Legion a try, use code SWEETSIMPLE for BOGO 50% off for new customers!
How to Swirl Ninja Creami Protein Ice Cream
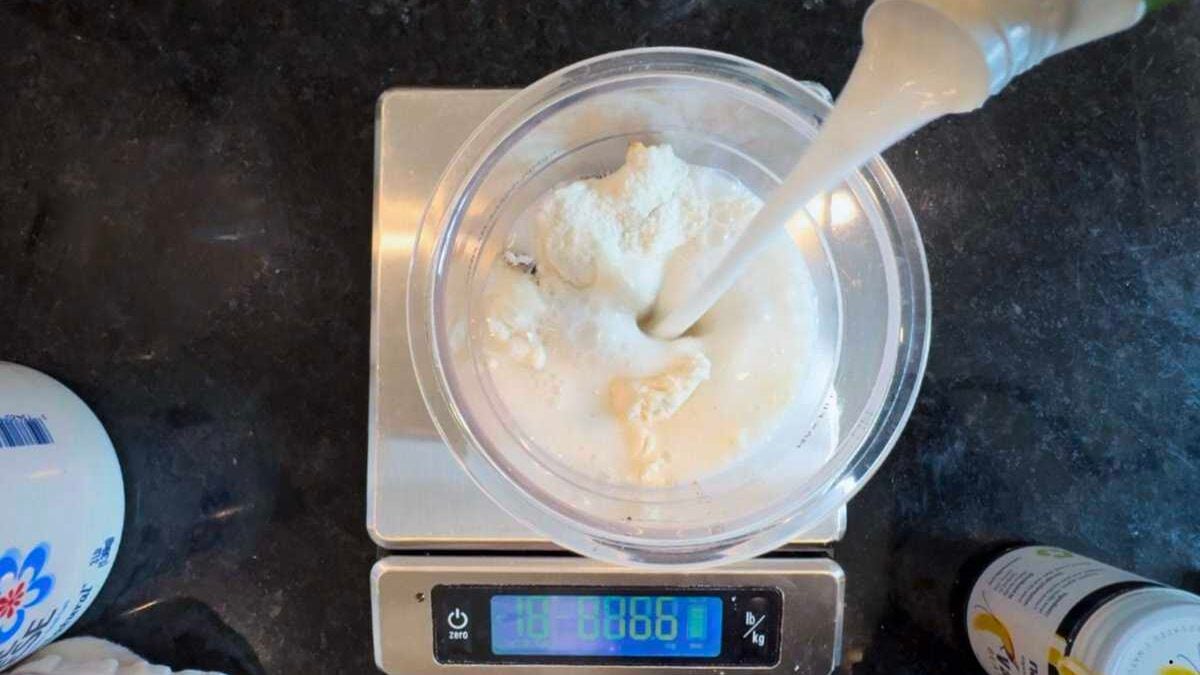
Make the vanilla coconut flavor. Take one of your Ninja Creami pint cups and add cottage cheese, vanilla protein powder, allulose, vanilla paste (or extract), and coconut extract. Add about 1 cup of the unsweetened coconut milk, a little more if needed to reach the fill line.
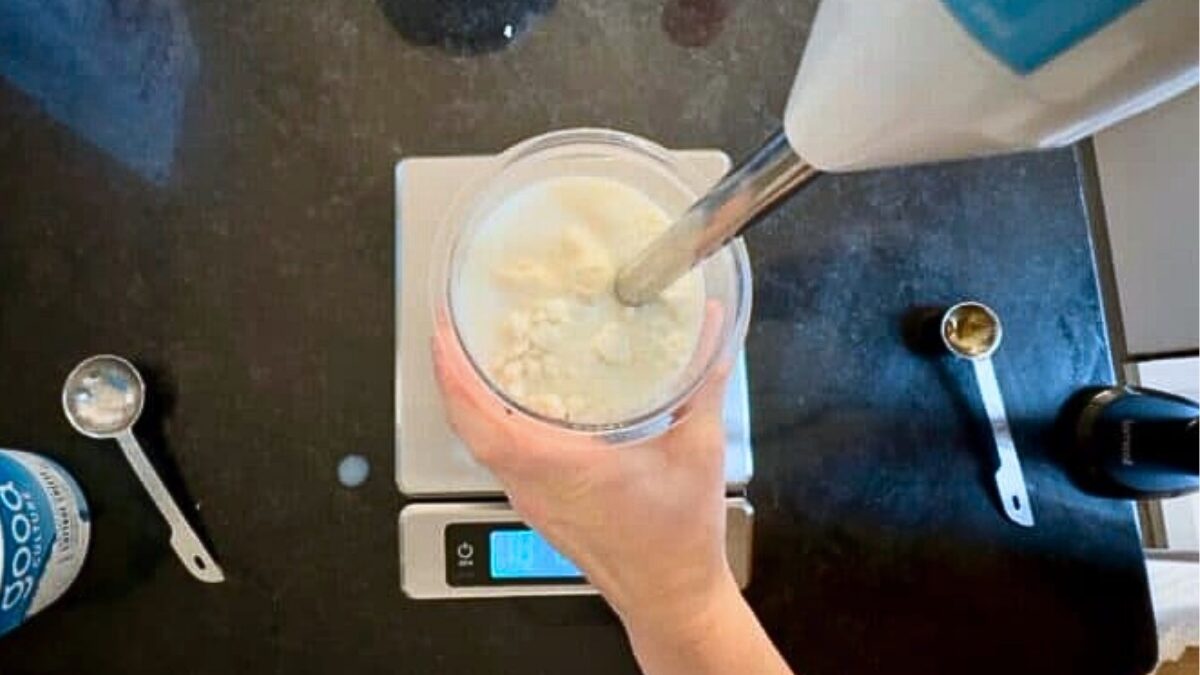
Using an immersion blender, blend it right in the Creami pint cup until smooth. If you don’t have an immersion blender, use a small whisk, drink frother, or smoothie cup for a large blender–be careful not to overblend it and make it frothy.
Pour half of it into a little jar or Tupperware container to put in the fridge. To make our flavor swirl, we need to freeze half at a time. Put the Ninja Creami pint cup with half of your ice cream mixture into the freezer to set.
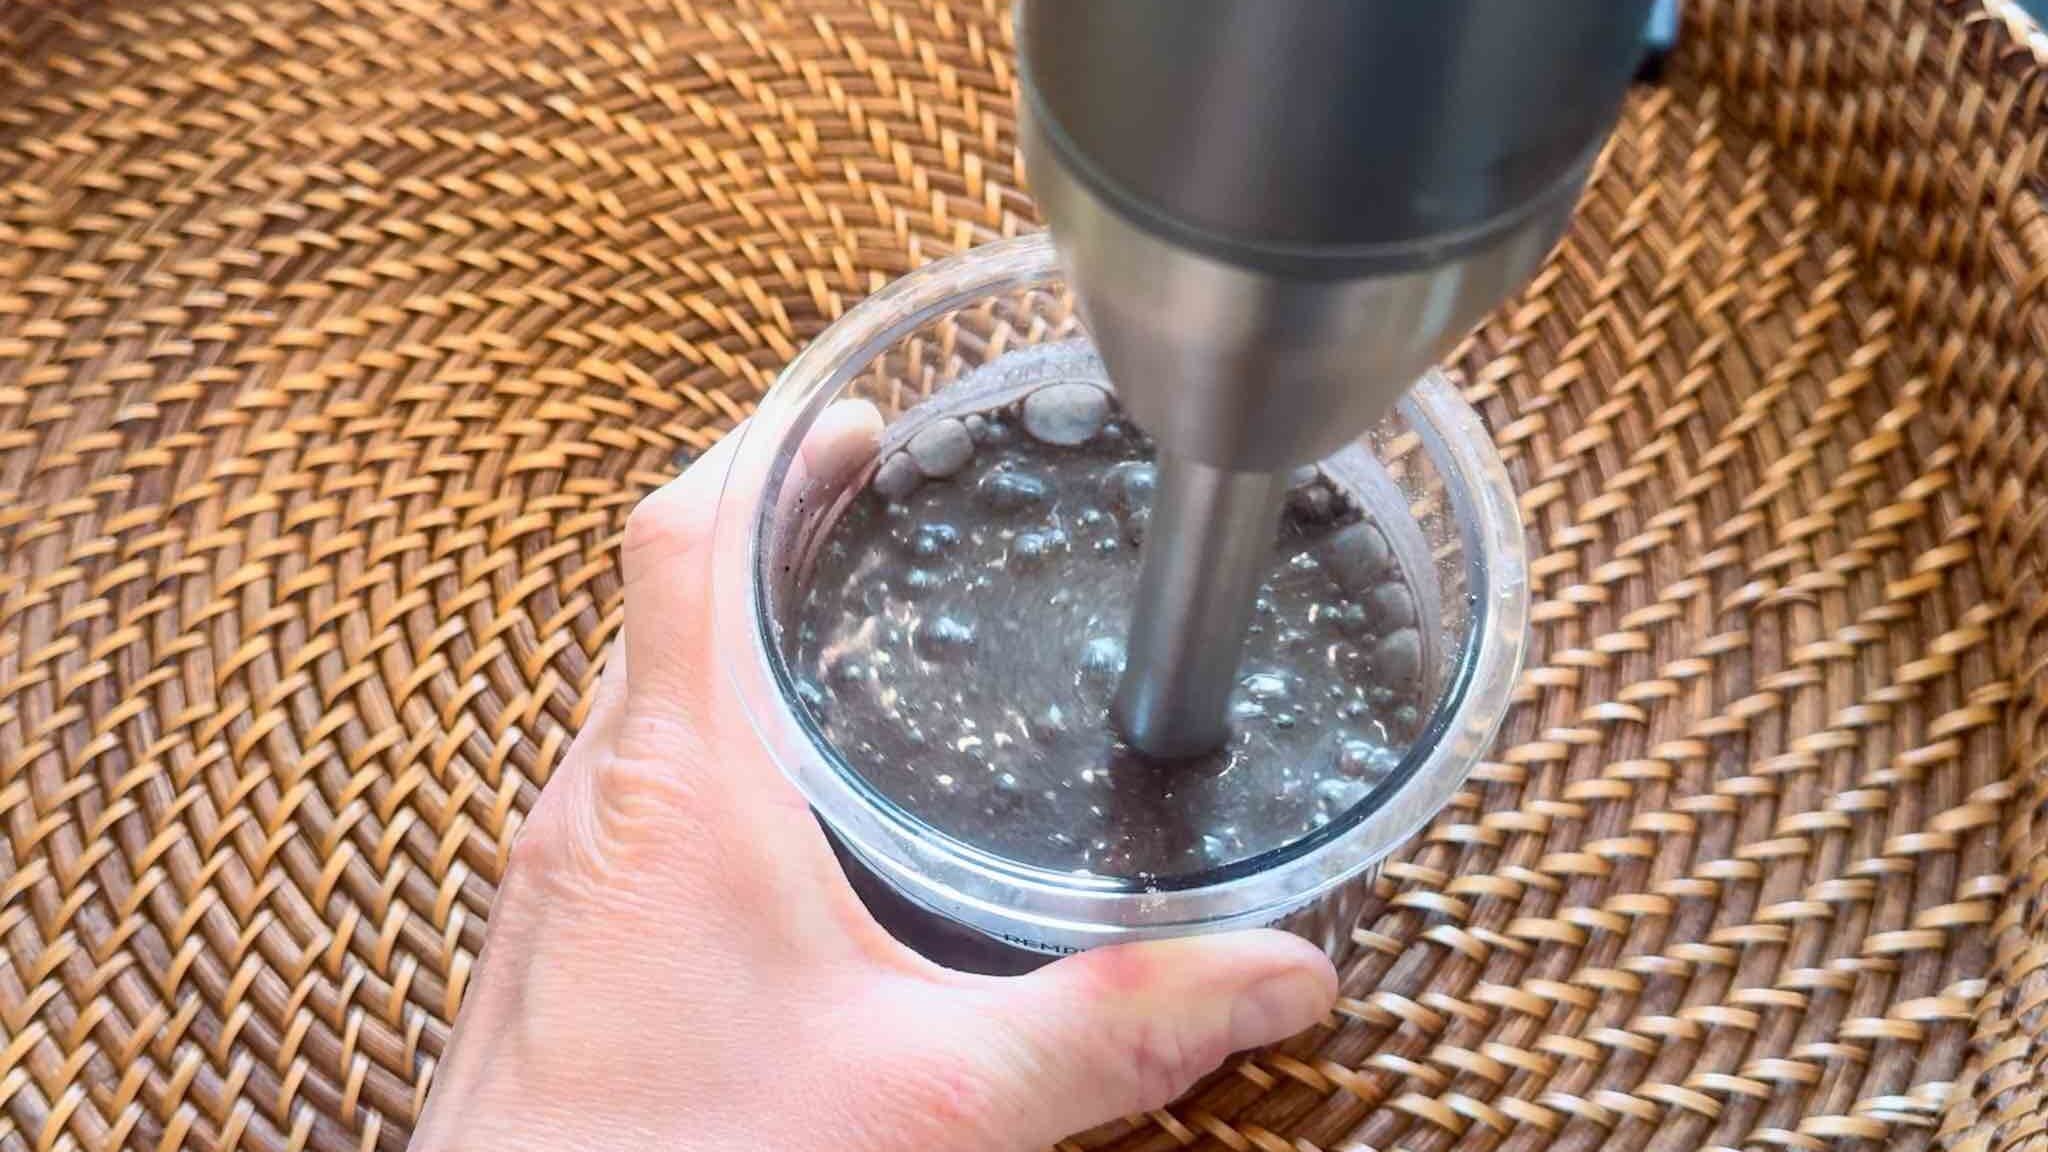
Next, make the dark chocolate ice cream mixture. Add all of the ingredients with enough milk as needed to reach the max fill line.
Blend with an immersion blender, then pour half of the chocolate ice cream mix into a little jar to stick in the fridge. Put the pint cup with the rest of the chocolate mixture in the freezer.
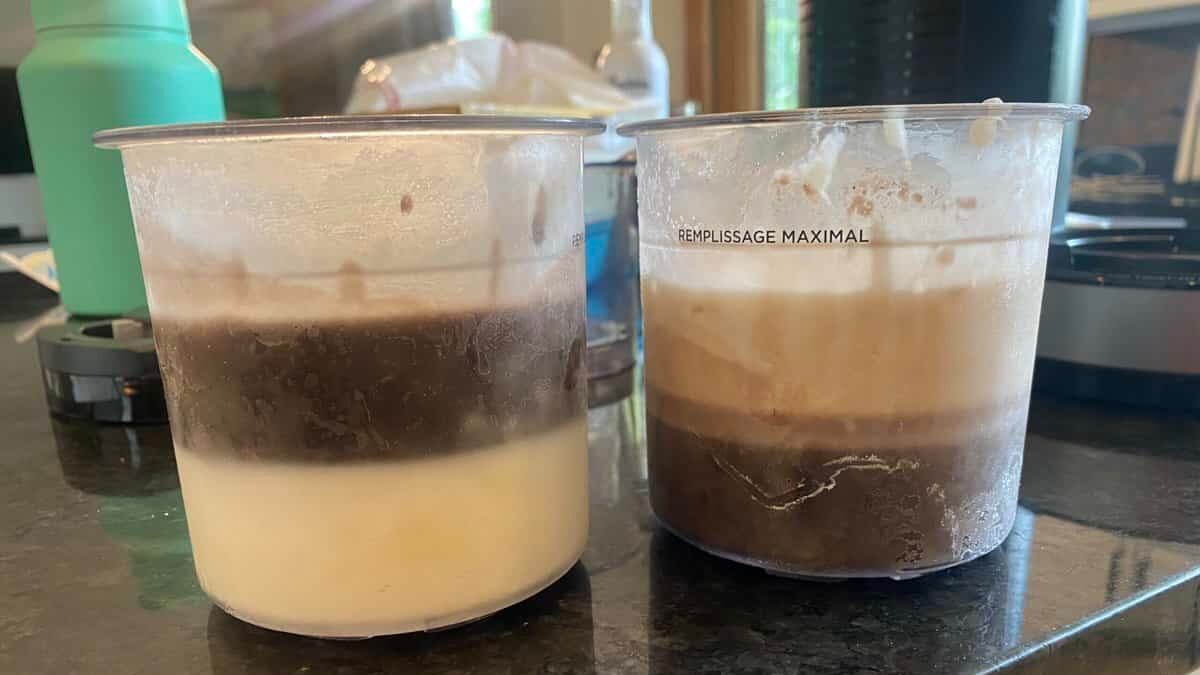
Now you need to let the bottom layers freeze for a few hours before adding the top layer. Once they’re frozen enough not to mix, you will take the jar of the chocolate mixture and pour it on top of the vanilla coconut layer.
Then take the vanilla coconut jar from the fridge and pour it on top of the frozen chocolate layer. Let the full pint containers freeze for a full 24 hours.
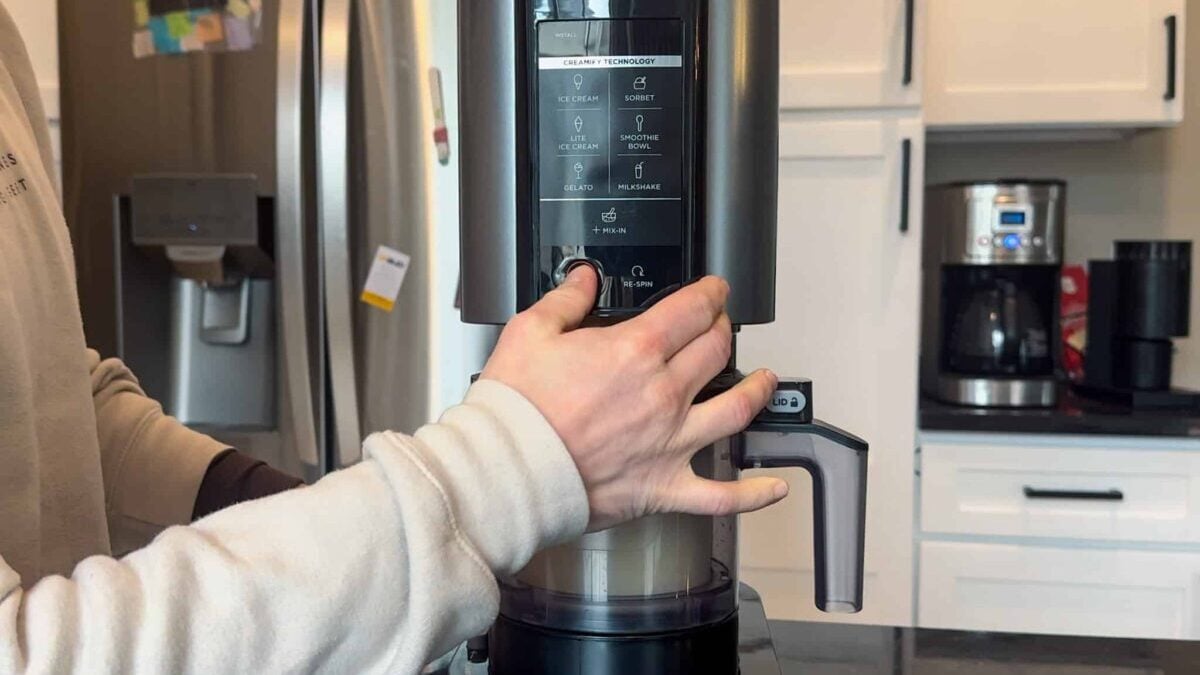
After you have frozen the pints a full 24 hours, you can spin it with your Creami machine on the Lite Ice Cream setting.
When it is done spinning, take off the lid and check the texture. If it is not as smooth as you’d like, reinstall the pint container into the Creami again and do a re-spin cycle.
Enjoy your delicious protein Ninja swirl ice cream!
You can repeat this concept with any two of your favorite flavors–just see my tips section below to make sure they turn out well.
Expert Tips
Keeping the colors separate: The flavors stay mostly separate as long as you have enough protein in the recipe and allow it to freeze for a full 24 hours. Using less protein will result in a thinner ice cream, which can blend the flavors.
IMPORTANT: For best results, do the respin without adding extra liquid! That will keep this ice cream firm, which is important for a good swirl. Some people are in the habit of adding a splash of milk before a respin–do not do that for this recipe.
Preventing white from turning gray: The pint with the white vanilla layer on the bottom stays whiter than the pint with the vanilla layer on top. If you prefer a bright white ice cream, mix the coconut flavor first and freeze it on the bottom in both pint cups. The next day, make the chocolate and pour it on top.
Troubleshooting Tips: If you’re having issues with your Ninja Creami machine, check out my Ninja Creami Troubleshooting Guide.
Ninja Creami Mix-In Ideas

Ninja Creami Swirl Protein Ice Cream FAQs
Allulose is a naturally occurring sugar molecule. It occurs in things like figs, wheat, & maple syrup. It’s only about 70% as sweet as sugar, so if you were to do a 1:1 replacement, expect it to be less sweet. However, what’s nice about it is the taste is pretty similar to sugar and it doesn’t have an aftertaste like other natural sugar-free sweeteners. It’s also practically calorie free (only .4 cals per gram) and doesn’t spike blood sugar because the body isn’t able to metabolize it.
There are so many things that can impact the texture of your Ninja Creami recipe. But first things first, if you haven’t tried doing a respin (or two, or sometimes even three) do that. Sometimes it just needs a few spins to get to the right texture. But if it starts getting too soft with the respins and still isn’t smooth, then you will need to adjust your recipe. Make sure you are using the cottage cheese in this recipe, or substitute it for Greek yogurt, but don’t let it out completely. It serves as a binder which makes this ice cream silky and smooth.
You can, but…it doesn’t taste that good on its own. I really suggest trying the recipe as I have laid out here. The freezer dulls flavors and sweetness, so a protein shake all by itself is bland and icy. By adding just a few more ingredients, you can really make some incredible protein ice cream.
Other Protein Ice Cream Flavors
Check out my Almond Joy Ninja Creami Protein Ice Cream recipe for these flavors without the work of layering. You’ll also love my lemon protein ice cream, cinnamon Ninja Creami, & my raspberry protein ice cream.
My Peanut Butter protein ice cream, sugar-free cookies and cream Ninja Creami, and High Protein Coffee Ice Cream are also big hits!


Want More Recipes Like This One?
If you love my Ninja Creami recipes and want some more fun flavors like S’Mores, Pistachio, Monster Cookie, Black Forest Cake, or even Moose Tracks, check out my Ninja Creami Recipe eBook!
The recipe book is available for instant download and offers delicious recipes in an easy-to-access eBook without any ads.
Make this Ninja Creami flavor swirl recipe today!
Then, please leave a comment and a 5-star rating! It helps others find my recipes, and it means the world to hear from every reader.
📖 Recipe
The Best Ninja Creami Protein Ice Cream- Chocolate & Coconut Swirl
Equipment
- Ninja Creami Ice Cream Maker
- Immersion Blender optional
Ingredients
Vanilla Coconut Protein Ice Cream
- 100 grams Reduced Fat Cottage Cheese about 1/2 cup
- 50 grams Vanilla Whey Protein 1.5 scoops
- 24 grams Allulose 2 tbsps
- 1/4 teaspoon Coconut Extract
- 1/2 teaspoon Vanilla Bean Paste or vanilla extract
- 1 Cup Unsweetened Coconut Milk more if needed to reach the max fill line
Chocolate Creami Protein Ice Cream
- 100 grams Reduced Fat Cottage Cheese about 1/2 cup
- 50 grams Chocolate Whey Protein 1.5 scoops
- 24 grams Allulose 2 tbsps
- 12 grams Black Cocoa Powder 1.5 tbsp— regular cocoa powder okay
- 1/2 teaspoon Vanilla Bean Paste or extract
- 1 cup skim milk more if needed to reach the max fill line
Instructions
For the Vanilla Coconut Protein Ice Cream
- Take one of your Ninja Creami pint cups and the ingredients for the vanilla-coconut ice cream mixture. Blend with an immersion blender.100 grams Reduced Fat Cottage Cheese, 50 grams Vanilla Whey Protein, 24 grams Allulose, 1/4 teaspoon Coconut Extract, 1/2 teaspoon Vanilla Bean Paste, 1 Cup Unsweetened Coconut Milk
- Pour half of your mixture into a small container to keep in the fridge for the top layer of the second pint. Put the pint cup with the remaining mixture into the freezer to set for 2-4 hours, until firm enough to pour the top layer.
For the Chocolate Protein Ice Cream
- Take a second Ninja Creami pint cup and add the ingredients for the chocolate ice cream mixture. Blend with an immersion blender until smooth.100 grams Reduced Fat Cottage Cheese, 50 grams Chocolate Whey Protein, 24 grams Allulose, 12 grams Black Cocoa Powder, 1/2 teaspoon Vanilla Bean Paste, 1 cup skim milk
- Pour half of the chocolate mixture into another small container to refrigerate for the top layer of the other pint. Put the pint cup with the remaining chocolate mixture into the freezer. Leave to set for about 2-4 hours until firm enough to ppour the top layer.
To Make the Chocolate Coconut Swirl
- When the bottom layers are set, remove the frozen bases from the freezer. Grab the remaining halfs of each mixture from the fridge. Pour the liquid vanilla coconut mix on top of the frozen chocolate layer. Put the pint cup back in the freezer.
- Repeat that process, this time pouring the liquid chocolate mixture and pour on top of the frozen vanilla later.
- Put both pints back in the freezer to set for 24 hours. Make sure to place them on a level surface.
- When you want to eat your ice cream, spin one time on Lite Ice Cream setting. Check the texture–if necessary, do one Re-Spin cycle. Do not add any liquid at the respin or your ice cream may become too soft and blend the layers together.
- Enjoy your delicious Creami swirl creation!
Video


The chocolate coconut is a great combination. Ive made this multiple times now and it tastes delicious everytime.