Festive Cranberry Wild Rice Bread Recipe- Loaf or Rolls!
This post may contain affiliate links.
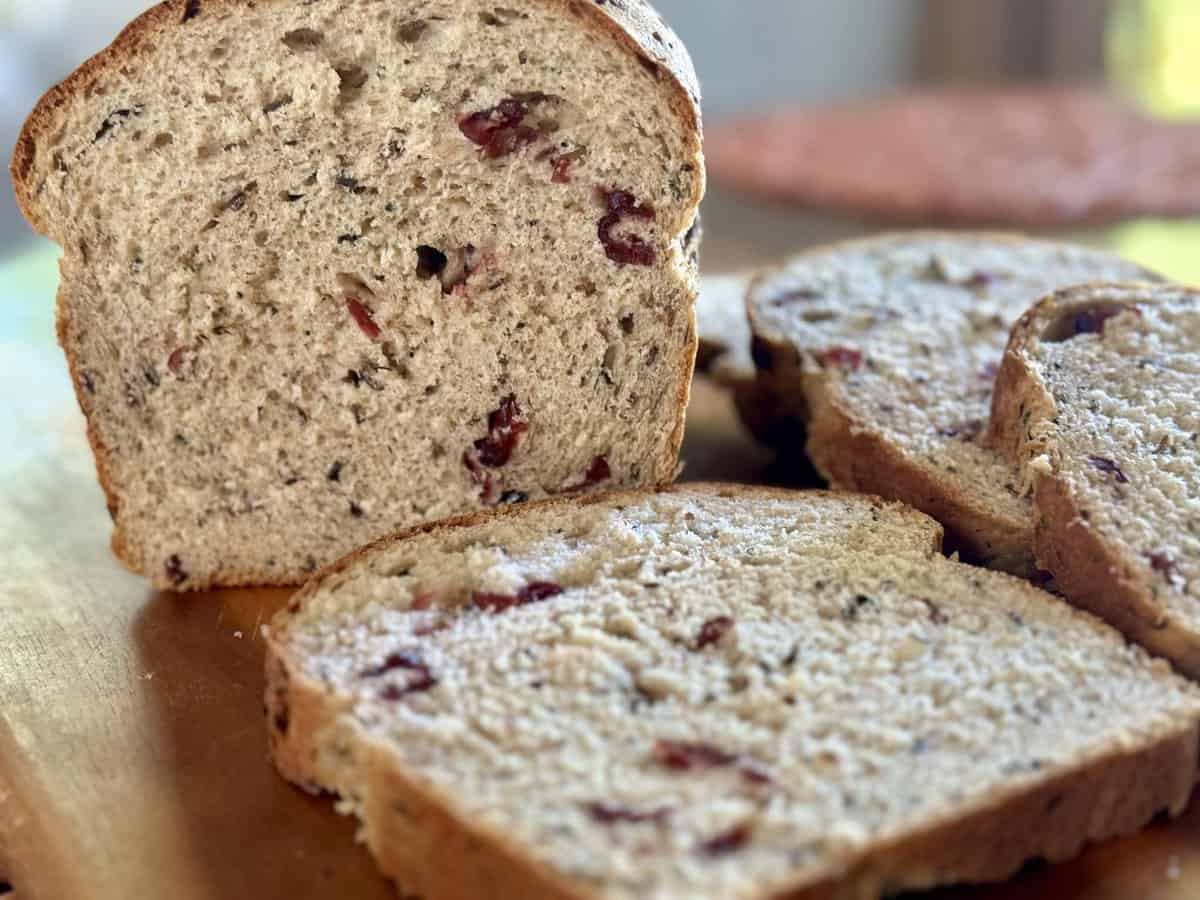
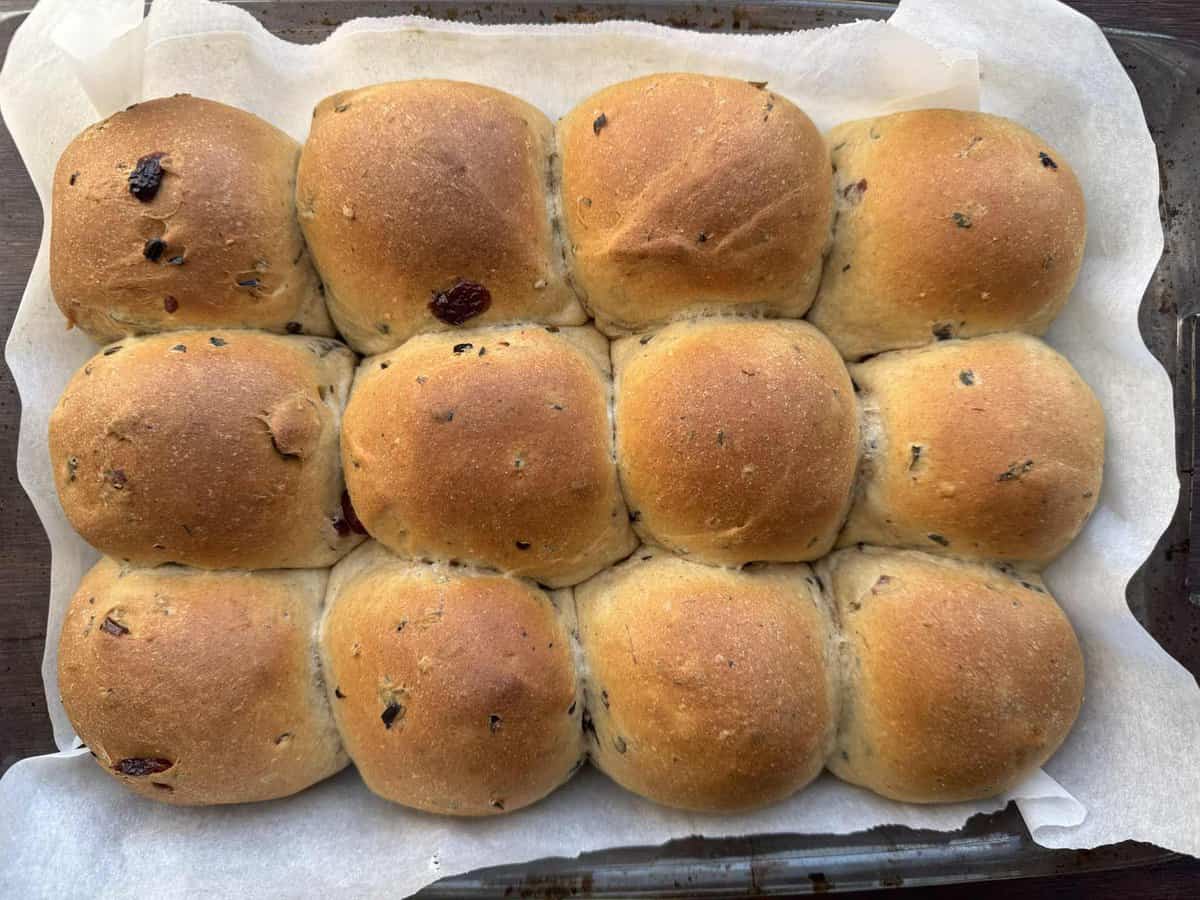
This light and fluffy Cranberry Wild Rice Bread Recipe is buttery, soft, and baked to perfection. With seasonal inclusions of long-grain wild rice and dried cranberries, this bread is packed with a sweet and nutty flavor to serve at your holiday gatherings. This dough can be made into dinner rolls or a sandwich loaf.

This cranberry wild rice bread recipe was inspired by a restaurant in Northern Minnesota called The Merit at Trapper’s Landing. When visiting the restaurant this summer, we noticed they served a duck BLT on cranberry wild rice bread. I couldn’t believe how creative and delicious that was!
Upon doing more research into how I’d go about recreating this bread, I discovered that Key’s Cafe, another Twin Cities iconic restaurant, is also known for its cranberry wild rice bread.
As I thought about how we would use cranberry wild rice bread in our home, my mind went to two things: a Thanksgiving side, and leftover turkey sandwiches. So while the original recipe that inspired me was a boule, I knew I wanted to make it a little different. I wanted to create a great recipe that was airy & soft, perfect for buttery rolls, and also suitable for a loaf pan to make perfect sandwich slices.

Ingredients
To make this Cranberry Wild Rice bread recipe, you need the following:
- Flour– I use a blend of whole wheat flour & all-purpose flour. In total, we are using about 3 1/2 cups of flour.
- Cooked Wild Rice– See my tutorial for how to cook long-grain wild rice in an Instant Pot to make this as easy as possible. If you can’t find long-grain wild rice locally, you can use a wild rice blend, which is usually available in most major grocery stores. Blends are not 100% wild rice, but they will work for this bread if needed. I use 2/3 cup of wild rice in this recipe.
- Dried Cranberries– while fresh cranberries are in season, they are a little bit too tart for this recipe. Dried cranberries work wonderfully! Fresh fruit may also impact the hydration of this recipe, so I would stick with dried. If you don’t have dried cranberries, dried sour cherries would work wonderfully.
- Butter– I love enriching my bread dough with butter to create soft & luscious loaves, but olive oil can also work.
- Honey– Adds the perfect amount of sweetness while also contributing to a beautifully soft texture.
- Active Dry Yeast
- Egg
- Milk & Water– We use 1/3 cup water and 1/3 cup milk (80 grams of each). The wild rice also has some moisture that it adds to the dough.
- Salt

Instructions:

1. Proof Yeast
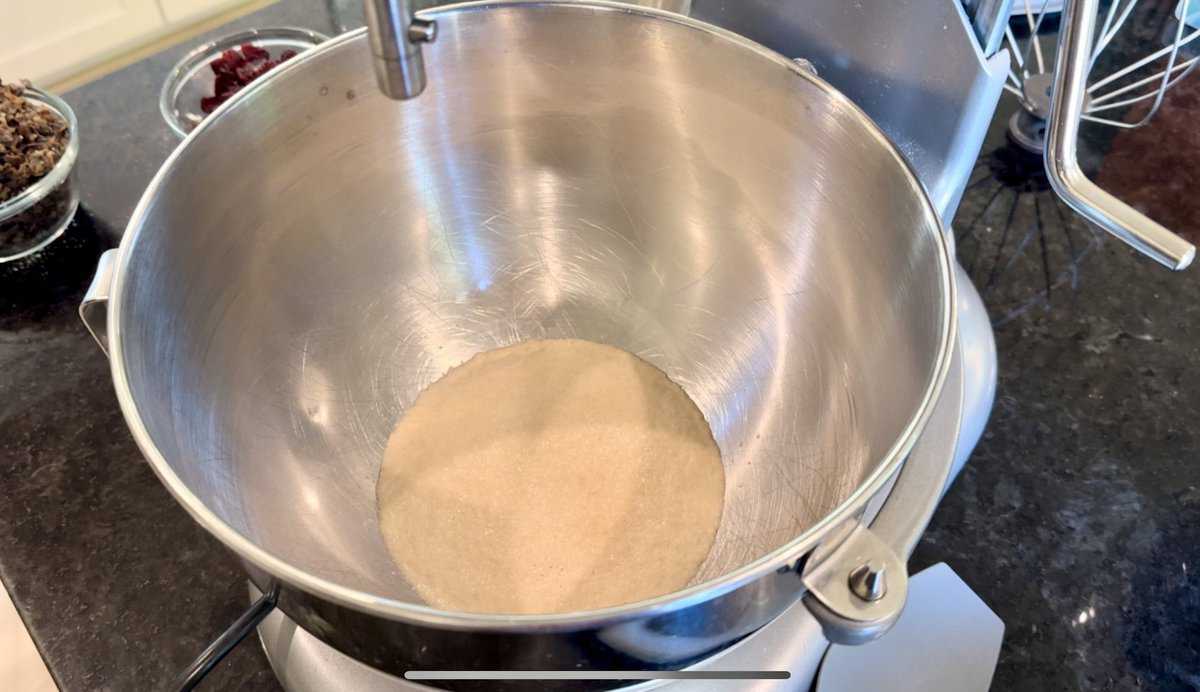
Add 80 grams of warm water (1/3 cup) and 1 tsp honey to the bowl of your stand mixer or large mixing bowl. Stir to dissolve the honey, and then add 2 1/4 tsp (1 packet) of Active Dry Yeast. Allow to sit until foamy, about 10 minutes.

2. Prepare Ingredients
While the yeast proofs, you can prep your other ingredients. Measure out 180 grams of all-purpose flour (1 1/2 cup–if you are not using a scale, please see the recipe notes section for a recommended adjustment) and 210 (1 3/4 cups) whole wheat flour, then add it to a large bowl with 1 tsp of salt. Set aside. Measure out the rest of the honey (3 tbsp + 2 tsp) and set aside. Gather your egg from the fridge. Melt 57 grams (1/4 cup) of butter in a small saucepan or in a microwave-safe dish. Remove your butter from the heat, add 80 grams (1/3 cup) of milk to the butter, and stir to combine. Measure out 2/3 cup cooked wild rice and 1/2 cup of dried cranberries. Have all of these things ready to go next to your mixer to make bringing this dough together super easy.

3. Add Wet Ingredients to Stand Mixer Bowl
Once the yeast is foamy, add the rest of the honey, the egg, the melted butter, and milk to the mixing bowl. Stir to combine.

4. Add Dry Ingredients
Add your flour & salt to the bowl and stir to mix. Then add your wild rice and dried cranberries. Give it a stir until a shaggy dough forms, but then turn your mixer off and allow the dough to rest for 20 minutes before you start kneading.

5. Knead Dough
Put the dough hook attachment on your mixer, and then knead for 10-15 minutes. You can pause your mixer halfway through if it starts to get warm and seems like it needs a break because this can be a bit of a stiff dough, especially if you don’t measure by weight.

6. First Rise
Once the dough comes together in a smooth ball and passes the window pane test, stop kneading. Transfer your dough to a greased bowl to rise if you wish, or just leave it in the mixing bowl as I do. Cover the bowl with a kitchen towel or plastic wrap and let the dough rise at room temperature for 2 hours or until doubled.

7. Shape
Punch down the dough and scrape it out of your mixing bowl onto a lightly floured surface.
Loaf instructions: Line the bottom of a loaf pan with parchment paper and spray the sides with cooking spray (it will stick if you don’t!). Flatten the dough with your hands into a rectangle about the length of your loaf pan, and then as wide as needed. Working from the long direction, roll it up like a log. Tuck the ends in on each side, then place the dough in your loaf pan.
Rolls Instructions: Divide the dough into 12 equal pieces. I like to weigh the whole loaf with a scale and then divide it by 12 and weigh each ball to make sure they’re even. Roll each piece into a smooth ball and arrange them in a parchment-lined 9×13 pan in rows of 3×4.

8. Proof
Allow your dough to proof in a warm place for about 1 hour or until puffy. Near the end of the proofing time, heat your oven to 350 degrees.

9. Bake
Bake your sandwich loaf at 350 degrees for 40-45 minutes until golden brown. If making rolls, bake those at 350 for 30-35 minutes. At the end of the bake time, use a meat thermometer to test the internal temperature of your bread. It should be at least 190 degrees F. If it isn’t at least 190, bake it for a few more minutes until it is.

10. Cool
Let your bread rest in the pan for about 10 minutes, then turn it out on a wire rack to cool completely. If making a loaf, you may need to run a knife along the edges of the pan to loosen it.
Tips & Variations
If you do not have active dry yeast, you could use instant yeast. Skip the yeast proofing step and just add all of your wet ingredients together at once, followed by the yeast and dry ingredients.
You can also experiment with adding a little bit of rye flour in place of your whole wheat flour. It is fine to replace up to a half cup (60 grams) of whole-wheat flour with rye. Beyond that may start to impact the texture of the dough.
If you’re just looking for a simple whole wheat bread recipe, try my fresh milled whole wheat bread.
Serving Suggestions
I have made this cranberry wild rice bread recipe many ways, and my favorite way is dinner rolls with a bit of butter. You really can’t go wrong with the rolls!
Cranberry butter would be an amazing addition. But the sandwich loaf option is a good bread for leftover turkey sandwiches, or even for a delightful breakfast of French toast the next day! (tip for French toast: Keep the slices thick so they hold together well in the milk & egg mixture).
Serve this alongside your Thanksgiving meal or special dinners, along with this Easy Thanksgiving Fruit Salad with Wild Rice & Pecans. It would also make an excellent side to go with our Cozy Autumn Wild Rice Soup!

Would you like to save this?
More Fall Recipes
For more fall recipes, you’ll love any of the following!
Recipe Notes
Fresh bread is best eaten within a day or two of baking, but this bread should last 3-4 days if needed. If you don’t think you can eat the loaf within 4 days, cut off some slices and stick them in the freezer to pull out and toast whenever you’d like.
You can also freeze the loaf or rolls after they are baked and pull them out as needed for dinner. Rolls will thaw quickly, usually within an hour. The sandwich loaf may need a couple of hours to thaw completely.
Important Note about Flour Measurements
This recipe was developed using a scale to weigh the flour. While 210 grams would typically equal 1 3/4 cups flour, when using measuring cups instead of a scale, 99% of the time people end up too heavy-handed with the flour.
If you don’t have a scale, that’s fine, but cut the flour back to 1.5 cups each of the whole wheat flour and all-purpose flour. Start with that, and if you feel the dough is too sticky, then you can add a little more flour, a few tablespoons at a time.

FAQ
If you can’t find wild rice, you can use a wild rice blend. Any long-grain rustic rice grain could be a great substitution. I would not use white rice–it will not add the nice crunchy texture we get from the wild rice.
If you don’t have dried cranberries, dried sour cherries would be the next best option. But you can also use raisins, too!
Make this Hearty & Wholesome Wild Rice Bread Today!
Please leave a comment and review! It means the world!
Cranberry Wild Rice Bread
Equipment
- 1 Stand Mixer optional, but recommended
- 1 Loaf Pan
Ingredients
- 80 grams Lukewarm Water - 1/3 cup
- 84 grams Honey - 4 tablespoons
- 2 1/4 teaspoon Active Dry Yeast - 1 packet
- 57 grams Butter - half a stick (1/4 cup)
- 80 grams Milk - 1/3 cup
- 1 Egg
- 210 grams White Whole Wheat Flour - 1 3/4 cups–see notes if not using a scale
- 180-210 grams All Purpose Flour - 1 1/2 to 1 3/4 cups–see notes
- 5 grams Salt - 1 tsp
- 80 grams Dried Cranberries - 1/2 cup
- 120 grams Cooked Wild Rice - 2/3 cup
Instructions
- Add warm (not hot) water to the bowl of your stand mixer. Add 1 tsp of honey (set aside the rest of the honey for step 2) and stir to dissolve. Sprinkle your yeast on top of the water and let it sit for 10 minutes until foamy.
- Melt your butter in a small dish, and then add your milk to the butter. When the yeast is proofed, pour the bowl of butter and milk into the mixing bowl. Add your egg and the rest of your honey. Stir to combine.
- Add your whole wheat flour, all purpose flour, and salt. See notes section if not using a scale. Stir until mostly combined.
- Add your wild rice and your cranberries. Stir until well mixed. Turn off your stand mixer and let your dough sit for 15-20 minutes before you start kneading.
- Put your dough hook on your mixer and knead for about 10 minutes or until the dough comes together into a smooth ball, pulling away from the sides.
- Cover your bowl with a tea towel and let your dough rise for 2 hours or until doubled.
- (If making dinner rolls, see #3 in notes section). Spray a loaf pan with cooking spray or line with parchment paper. Punch down your dough and scoop it out of the bowl onto a clean surface. Flatten the dough into a rectangle with your hands and roll the dough up like a log and tuck the ends in. Place the dough in the loaf pan. Cover with a tea towel and let it rise for 1 hour.
- Preheat oven to 350 degrees. When your dough is nice and puffy, put your loaf pan in the oven and bake for 40-45 minutes (30-35 for rolls). You will know the bread is done if you stick a thermometer into the loaf and it reads 190 degrees.
- Let it cool in the pan 10 minutes, then run a knife along the sides if needed to loosen it. Turn it out onto a cooling rack and let it cool completely before slicing.
Video

Notes
- Note that there can be a drastic difference in the weight of flour on a scale and volume measurements. This recipe was developed using a scale. If you use the approximated volume measurements listed in the ingredients, start 1/4 cup lower than the ingredients specify, slowly adding the last bit of flour only if the dough needs it. Make sure you do not pack your cups of flour too tightly–the flour should be very loose and fluffy in the cups.
- The amount of moisture in your wild rice can impact the hydration of your bread. Start with 180 grams (1 1/2 cup) of the all purpose flour. Only increase to 210 grams if the dough continues to remain too sticky even after kneading.
- If making dinner rolls, turn your dough out and divide into 12 equal sections. Roll each section into a round ball, and arrange them in rows in a parchment lined 9×13 pan. Let rise 1 hour or until puffy, then bake for 30-35 minutes.


Save this recipe! I gifted two loaves to my mom for Christmas and she loved it! Wild rice bread in the store is crazy expensive and I always assumed it was difficult to make. So grateful to have found an easy recipe that tastes delicious!
Thank you so much, Frances! And what an awesome gift for your mom, I bet she loved it!
I really like this recipe. My one question is do you use a 8.5×4.5 or a 9×5 loaf pan? With the amount of flour used, it is a toss up which pan should be use acording to the King Arthur website.
Thanks
Hi Kathy! I always use a 9×5. 🙂
Can this be made in a bread machine?
Hi Julie! I’ve never tried it myself, but I imagine it could work. I’d recommend reading a couple bread machine recipes for sandwich loaves with inclusions and follow the baking instructions recommended for those breads with this recipe.
Hello Holly! I live in Minnesota as well and this is the very best cranberry wild rice bread I have ever had. It turned out beautifully! Thank you so much for the recipe. I used to have a turkey and bacon sandwich in this type of bread at a favorite restaurant which, unfortunately, closed. I just made the sandwich and it came out the same thanks to your bread. My Minnesota husband told me we must have this bread at home always so I will keep baking it. I have to tell everyone who reads this, if you have a scale use it, if you do not have a scale buy one! Weighing ingredients made a difference for me. First time making bread with a scale: game changer!! Blessings!
That’s so wonderful to hear! I’m so glad you loved it! 🙂 It’s such a fun recipe and absolutely perfect for sandwiches!