Easy Fermented Cucamelon Pickles- Healthy and Fun!
This post may contain affiliate links.
There’s nothing more fun than a cucamelon pickle! These easy-to-make fermented cucamelon pickles are full of gut-healthy probiotics making this salty, tangy snack so great for you.

Fermented cucamelon pickles are a real treat filled with healthy probiotics. I don’t remember when I first heard of cucamelons, but I knew the second I saw them that I wanted to try them someday.
Homegrown cucumbers are a favorite in our house, and I couldn’t get over the tiny cuteness of a cucamelon. Not to mention I had heard they had a hint of lime flavoring–what could be better?
So I decided this was the year. Since I couldn’t find cucamelons (also known as Mexican sour gherkins) in a store anywhere around here, I knew my only option was to grow them.
I ordered these seeds online and got to work!
As is typical with me, I was a little overzealous with what I wanted to plant this year and ended up filling up my entire garden space before I could get the cucamelon seeds planted.
I decided to just throw 4 seeds into a flower bed by my gazebo. Weeks went by, and while other plants were sprouting and taking off, the cucamelons hadn’t even poked up from the ground yet. I thought they must have been duds.
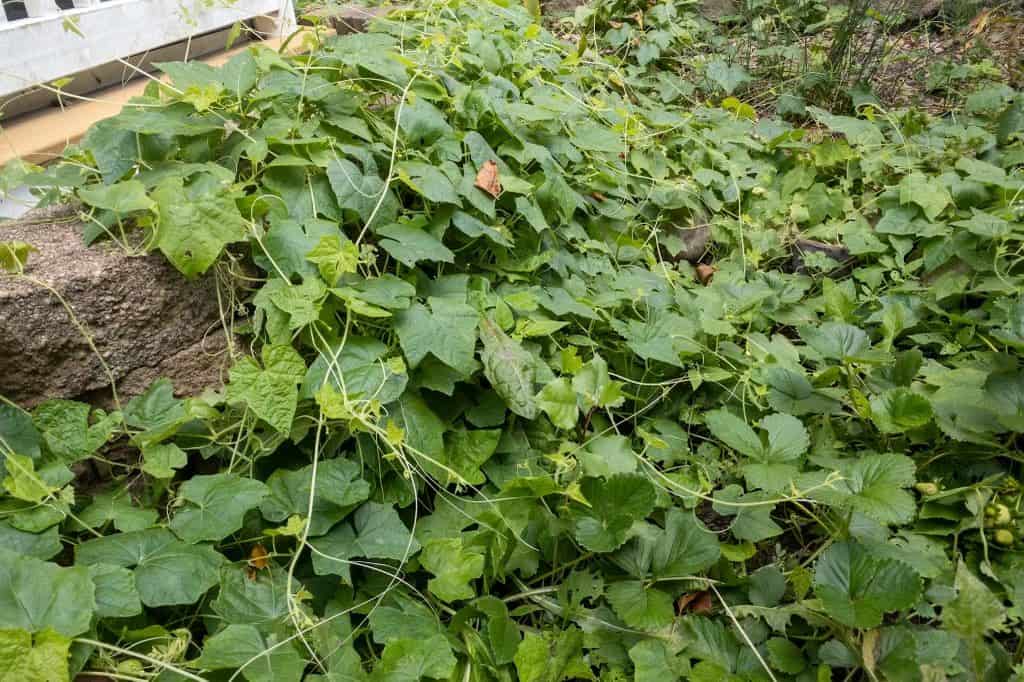
Eventually, I moved on and didn’t even think about them anymore until mid-August when boom! Suddenly my flower bed was covered in lots of trailing vines! And precious little fruits.

Ingredients & Equipment
While cucamelons are great little snacks (the kids LOVE them), I also couldn’t wait to make some gut-healthy pickles with them. The ingredients for these fermented cucamelon pickles are as follows:
- Just under 1 quart cucamelons (maybe a little over 3 cups)
- 3-4 cloves of garlic
- 1 tablespoon pickling spice
- 2 dill fronds + stems
- 1 bay leaf
- Non-iodized Salt
- Water

As for equipment, I highly recommend the following:
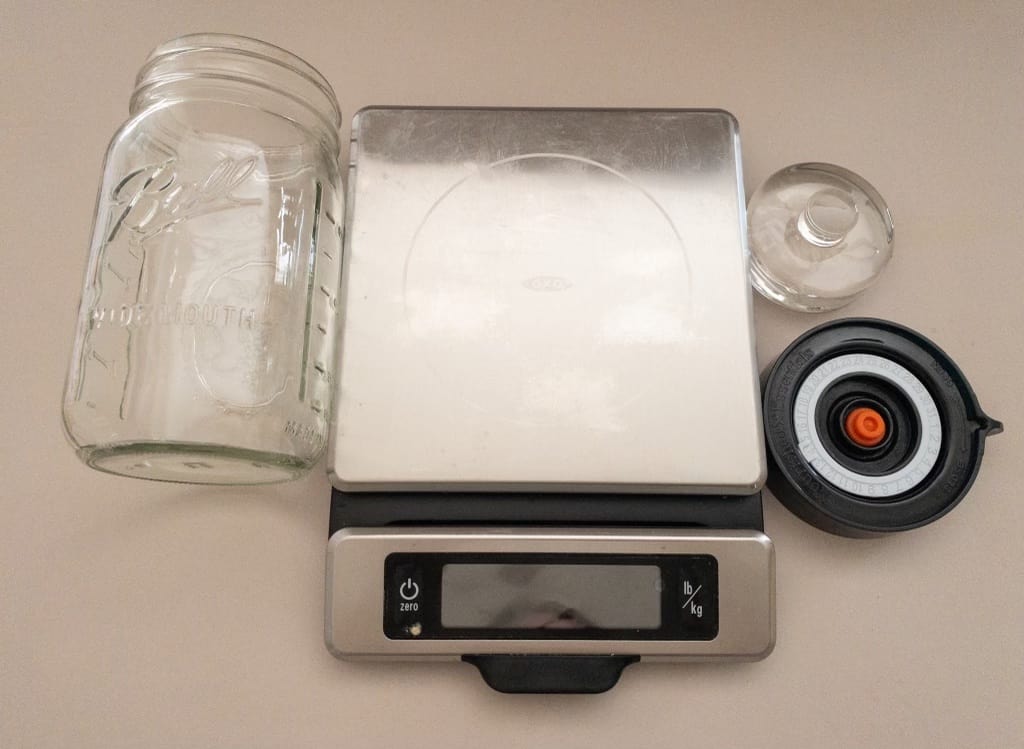
- A quart size glass mason jar
- Food Scale (I use this one and love it!)
- Air lock lids
- Fermentation weights

For the fermentation lids and weights, I highly recommend a kit like the EZ Fermenter lids (I notice these are hard to find right now, but here is a similar kit). The lids are fool proof and make fermenting easier than ever. The weights are also great quality.
While it is possible to ferment vegetables without specific jars, lids, weights, and food scales, I will be honest that most of my ferments made without this special equipment have molded.
If fermenting is something you think you’re going to want to be doing a lot of, it’s worth it to invest in these things. Overall, they’re pretty inexpensive and they greatly improve results.
The food scale especially!! It’s my most used kitchen device.
If you don’t use one now, it may be hard to understand how I use it so much. But I use it for everything from fermenting to whole grain sourdough baking to tracking individual food portions to keep an eye on protein and create accurate recipe nutritional information.
It also saves so much on dishes! Instead of getting all my measuring cups & spoons dirty, I can just put ingredients directly into the bowl on the scale and keep an eye on the weight.
So long story short, if you’d like to learn how to ferment without a scale, unfortunately I’m unable to help as I do everything by weight to get best results.
Cucamelon Pickles Instructions:
1. Rinse & Soak
First things first, you’re going to rinse any dirt off of your cucamelons and remove any lingering blossom ends.
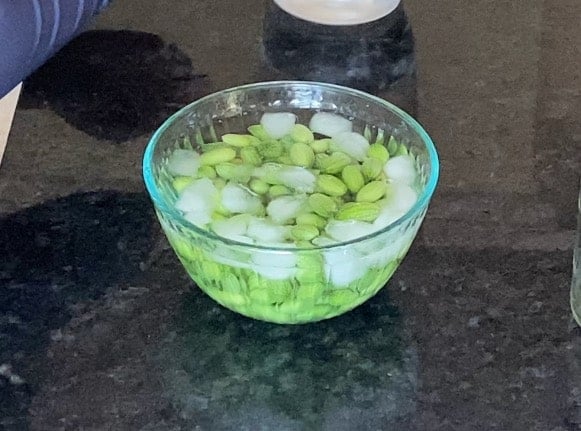
Fill a bowl with ice water and add your cucamelons. Cover the bowl and stick it in the fridge for several hours or overnight. This will help give you crispy fermented cucamelon pickles.

Would you like to save this?
2. Prepare Equipment & Ingredients
When you’re ready to make your pickles, get your equipment ready: your food scale, a quart size jar, air lock lid, fermentation weight, non-chlorinated water (I use water from my remineralized reverse osmosis), salt (non-iodized salt such as sea salt), pickling spice, garlic, dill, bay leaf, and of course, the cucamelons!
Set your jar on the food scale. Write down the weight in grams and then tare the scale. I always write down the weight first in case something happens to mess up the scale during the process.
Drain your cucamelons and set aside.
Peel your garlic and chop it into large slices. Large pieces are better and less likely float to the surface.
Rinse the dill and chop the fronds into large sections. Keep the stems as you can add these to the jar, too.
3. Pack Your Jar
Into your jar on the food scale, you will put about 1/4 of your cucamelons. Add some of your garlic, some of your dill, and some of your pickling spice. Then add more cucamelons, followed by the garlic, dill, and spice. Keep going until all of your cucamelons and other ingredients are packed tightly in the jar. Slide your bay leaf into the jar.
Keep in mind that you need to save room for the water and fermentation weight, so you should not pack it to the top. But you will want to pack it as close as you can so that once water and the weight are added, you are pretty close to the rim of the jar.
Important: You don’t want a lot of headspace for fermentation. Too much headspace invites mold.
Now pour water over your ingredients getting as close as you can to the top, remembering you need to save room for that fermentation weight. You want to have enough water that the fermentation weight will be completely submerged, but not so much that your water overflows everywhere.
Once your ingredients and water are in the jar, set it on the scale. It should be tared from when you first started, but if something happened, reference the weight of the jar that you wrote down and do the math to find the total weight of the ingredients + water.
4. Create Your Brine
We are going to make a 2.5% brine for these cucamelons. That means that we are going to take the total weight of our cucamelons, garlic, dill, spices, bay leaf, & water and multiply it by .025. That is the amount of salt we are going to add. Sometimes people make their brine by the weight of the water only, but often that ends up not being a strong enough brine because you really do need to consider the weight of all ingredients. That’s why I recommend a food scale. I recommend making your brine by total weight of food + water, not just water.
For example, my total weight of the ingredients and water was about 960 grams. 960 grams multiplied by .025 is 24 grams of salt. I measured that out separately and then added it to my jar. Then I put a regular canning lid on and swirl and shake to get it dissolved. It can take awhile to dissolve when you’re not using a hot brine, but it can be done!
Once the salt it dissolved, remove the lid, set in your fermentation weight and push it down, and then secure your airlock lid on top. If you have any tiny floaters, I try to push them down under the weight or just remove with a spoon. Anything floating has the potential to mold: however, if you’re using an airlock like that can release gas like these, the odds of mold greatly reduce. I actually love when I start to see a little liquid come out the top of the gas release–to me, that means the carbon dioxide has pushed out the oxygen (oxygen is what allows mold to grow).
5. Ferment!
Leave this in a dark spot on the counter for about 7 days. If you have an airlock that allows gas release, you shouldn’t need to do anything but wait. If you don’t have lids that can release gas, then you need to “burp” your jar once or twice a day to release the pressure.
These delicious fermented cucamelon pickles should be ready to enjoy at that time!

Tips & Variations
I highly recommend a food scale for fermenting. I’ve never had a fail when using a scale and an airlock, but have had fails when I made recipes by volume (using cups of vegetables and water, tablespoons of salt). But once I moved to a scale and airlocks, fermenting became so much easier.
Other Fermented Recipes
Love these cucamelons? Try my Fermented Cherry Tomatoes! Take a look at my vegetable recipes for more ideas.
You will also enjoy my 100% whole grain sourdough recipe.
FAQ
Yes! They ferment really well, and given that you can keep them whole, they generally stay crunchy, too. Fermented cucamelon pickles are delicious!
The pickling process typically involves an acid, like vinegar. This acid kills off unwanted organisms to help preserve the vegetable, but it also creates a hostile environment for the good bacteria, too. Fermentation, on the other hand, uses a salt brine (typically–sometimes people ferment in other ways, but that’s beyond the scope of this post) that creates an inhospitable environment for most bad strains of bacteria, but in which lacto-bacillus bacteria can still thrive. It’s this lacto-bacillus bacteria that is responsible for the safe and healthy preservation of the vegetable in the fermenting process. It also provides millions, even billions of healthy microbes that are very healthy for us to ingest for gut health. We should be trying to have as many servings of fermented foods as we can.
Easy Fermented Cucamelon Pickles
Equipment
- 1 Quart Size Glass Jar
- 1 Air lock lid
- 1 Glass Weight
Ingredients
- 3-3.5 cups Cucamelons - **See note
- 2-3 cups Water - **See note
- 22-25 grams Salt - **See note
- 2 Dill Stems & Fronds
- 1 tablespoon Pickling Spice
- 3-4 cloves Garlic
Instructions
- Rinse your cucamelons and remove any blossom ends. Soak in ice water in the fridge for several hours or overnight.
- After soaking your cucamelons, weigh your jar on your food scale in grams. Write down the weight just in case your scale gets reset. Tare the jar weight.
- Drain your cucamelons. Peel and slice garlic into big slices. Rinse the dill and roughly chop into large pieces.
- Layer your cucamelons, garlic, dill, and spices in the jar. Start with about 1/4 of your cucamelons, then some of the garlic, dill, spices, and repeat until the jar is getting near the top, but remember to save room for the fermentation weight (but do not add it yet).
- Tuck a bay leaf into the jar.
- Fill the jar nearly to the top with water, remembering that you will be adding the weight so don't go too full.
- Place your filled jar back on the scale. The scale should be tared from the weight of the jar at the beginning of the process, but if it got reset, refer to the weight you wrote down and subtract it from the total.
- Take the weight in grams of the jar's contents (cucamelons, garlic, dill, spices, bay leaf, and water) and multiply it by .025. Write this number down. It will likely be somewhere in the mid 20s for grams.
- Remove the jar from the scale and put a small dish on it for the salt. Weigh out the number you just calculated in the previous step in non-iodized salt.
- Add the salt to the jar. Cap the jar with a leak proof lid and shake & swirl to dissolve the salt completely. This may take a few minutes.
- When the salt is dissolved, open the lid and place your fermentation weight on top. Try to keep all floaters under the weight if you can. If you have a couple that won't go down, use a spoon to remove them.
- Place your airlock fermentation lid on your jar. Leave jar in a cool place on the counter. Your pickles will be ready in 7 days. Enjoy!


